How to perform test
TSH | Lansionbio
*Text instructions will be provided below.
All you need:
- 1x TSH Test Cassette
- 1x Capillary Pipette
- 1x Pipette
- 1x Sterile Lancet
- 1x Alcohol Swab
- 1x Buffer Solution Tube
- 1x Igloo Reader
- 1x Lansionbio Adapter

STEP 1: Prepare and Disinfect the Sampling Area
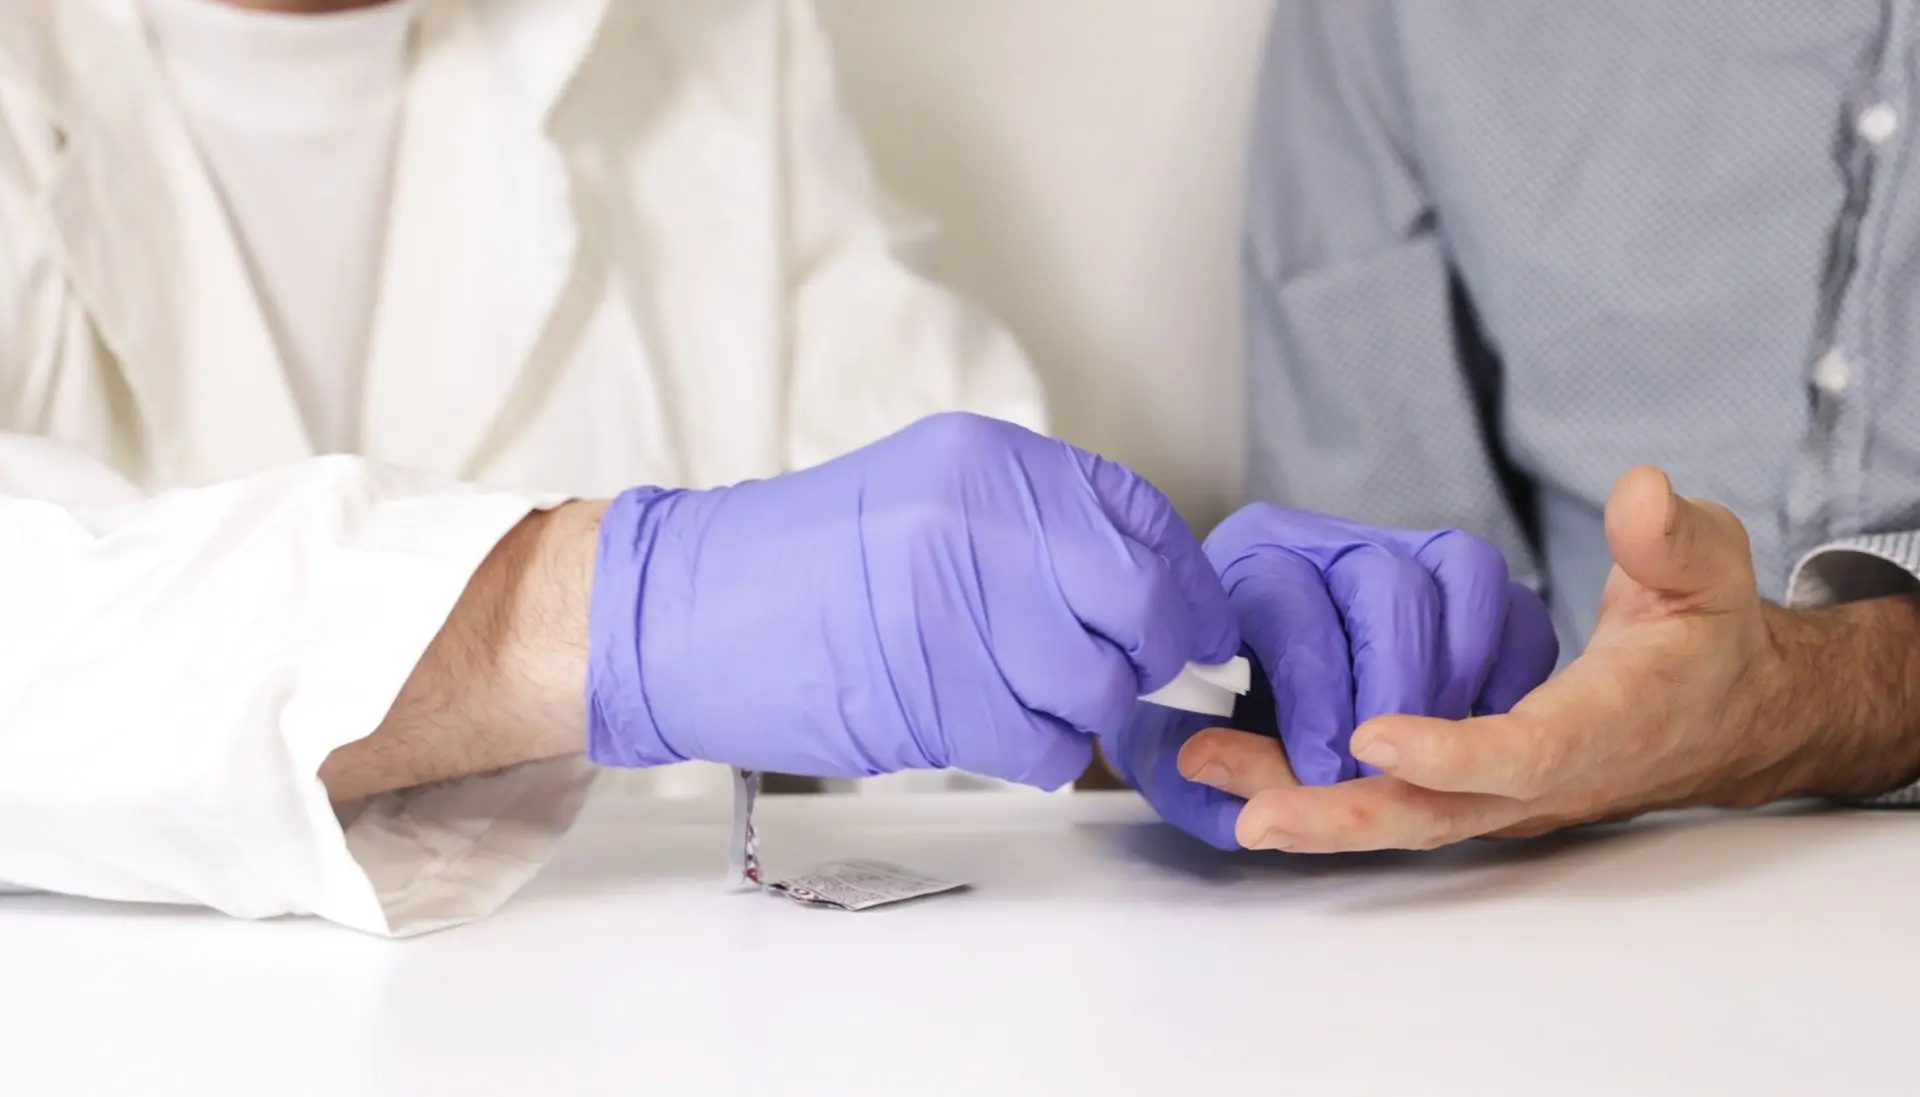
Lay out all kit components. Disinfect the fingertip with the alcohol swab and let it dry.
STEP 2: Perform a Fingerstick
Use the sterile lancet to puncture the side of the fingertip. Gently massage the finger to form a blood drop.

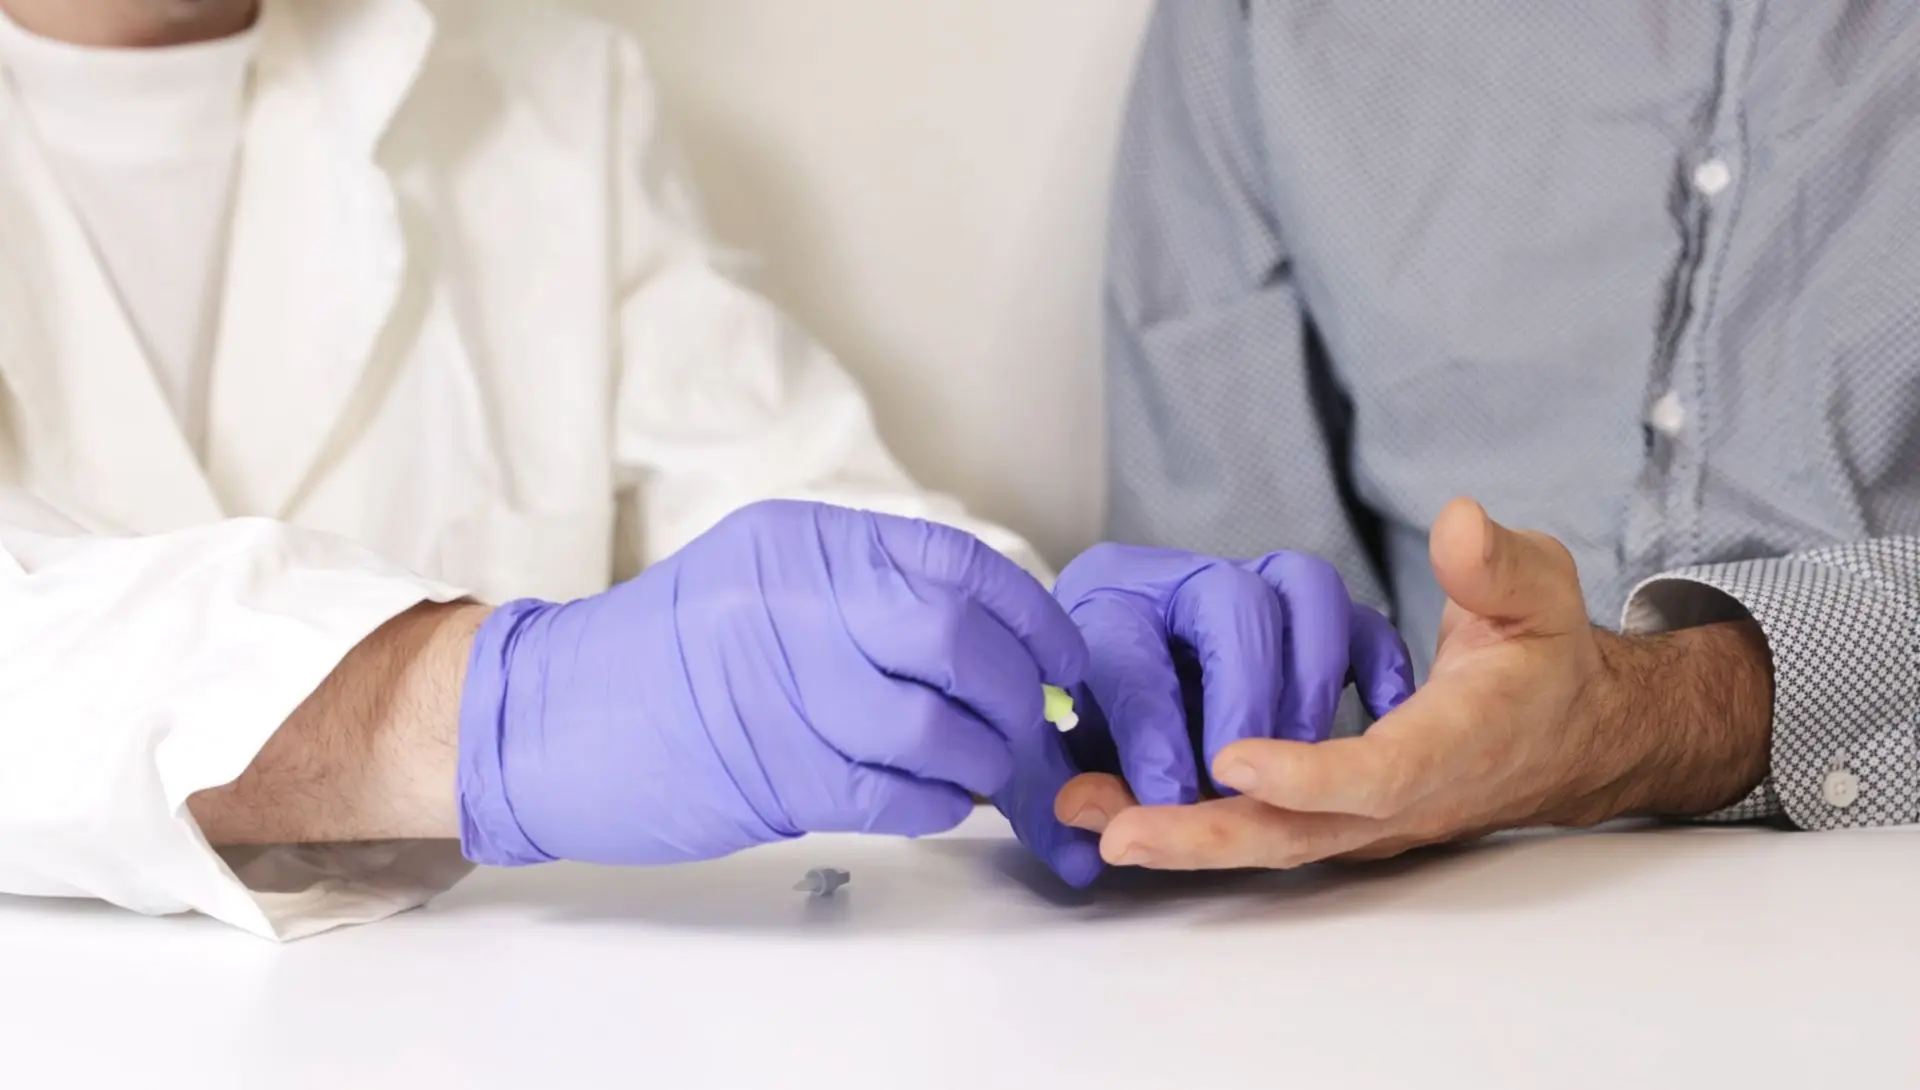
STEP 3: Remove the first droplet of blood
Wipe away the first drop of blood with a clean tissue or sterile gauze before collecting the sample. This ensures accuracy and prevents contamination.
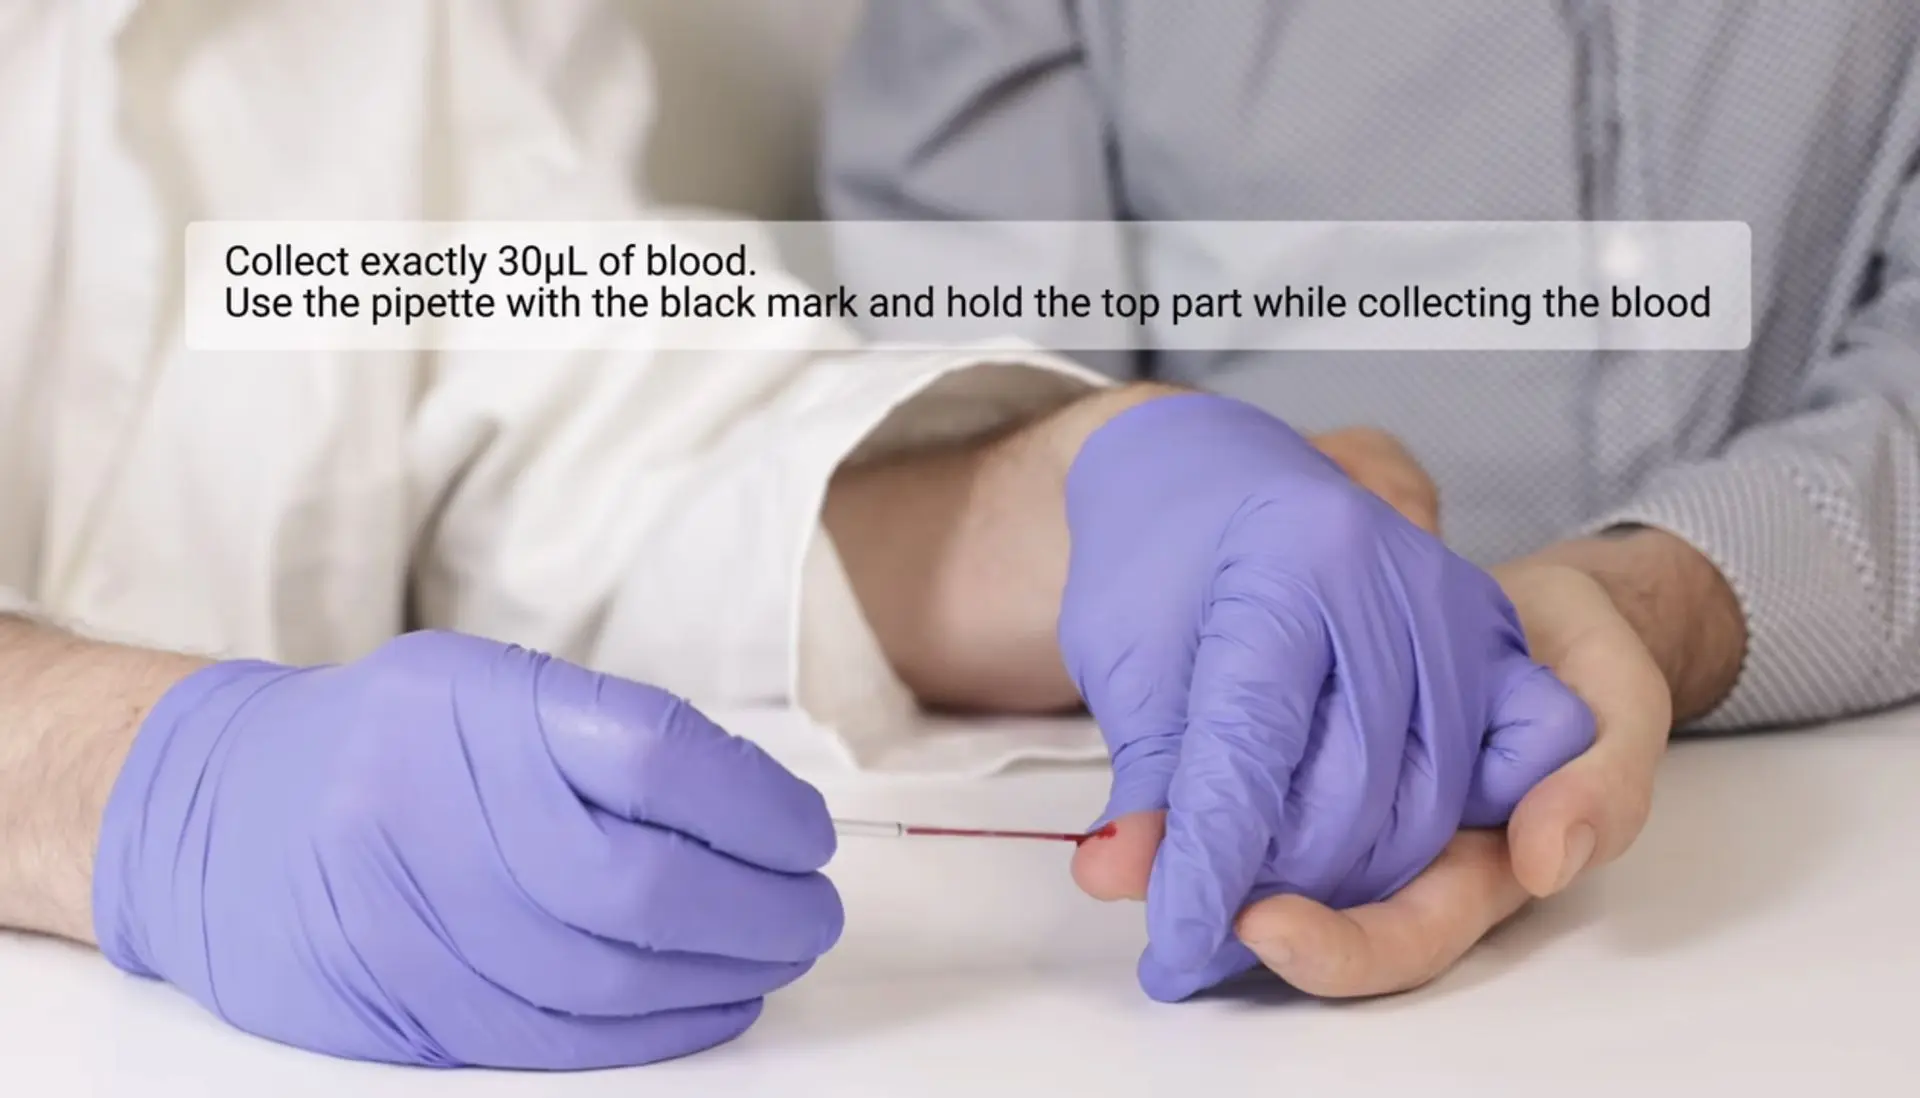
STEP 4: Collect exactly 30 µL of blood
Use the pipette with the black mark and hold the top part while collecting the blood.
Important: Ensure the blood sample is collected properly.

Important
Handle the pipette gently. Use only the top part when drawing up or releasing liquid.
Avoid squeezing too hard to ensure accurate volume and prevent air bubbles.
The blood should be collected up to the black line on the pipette.
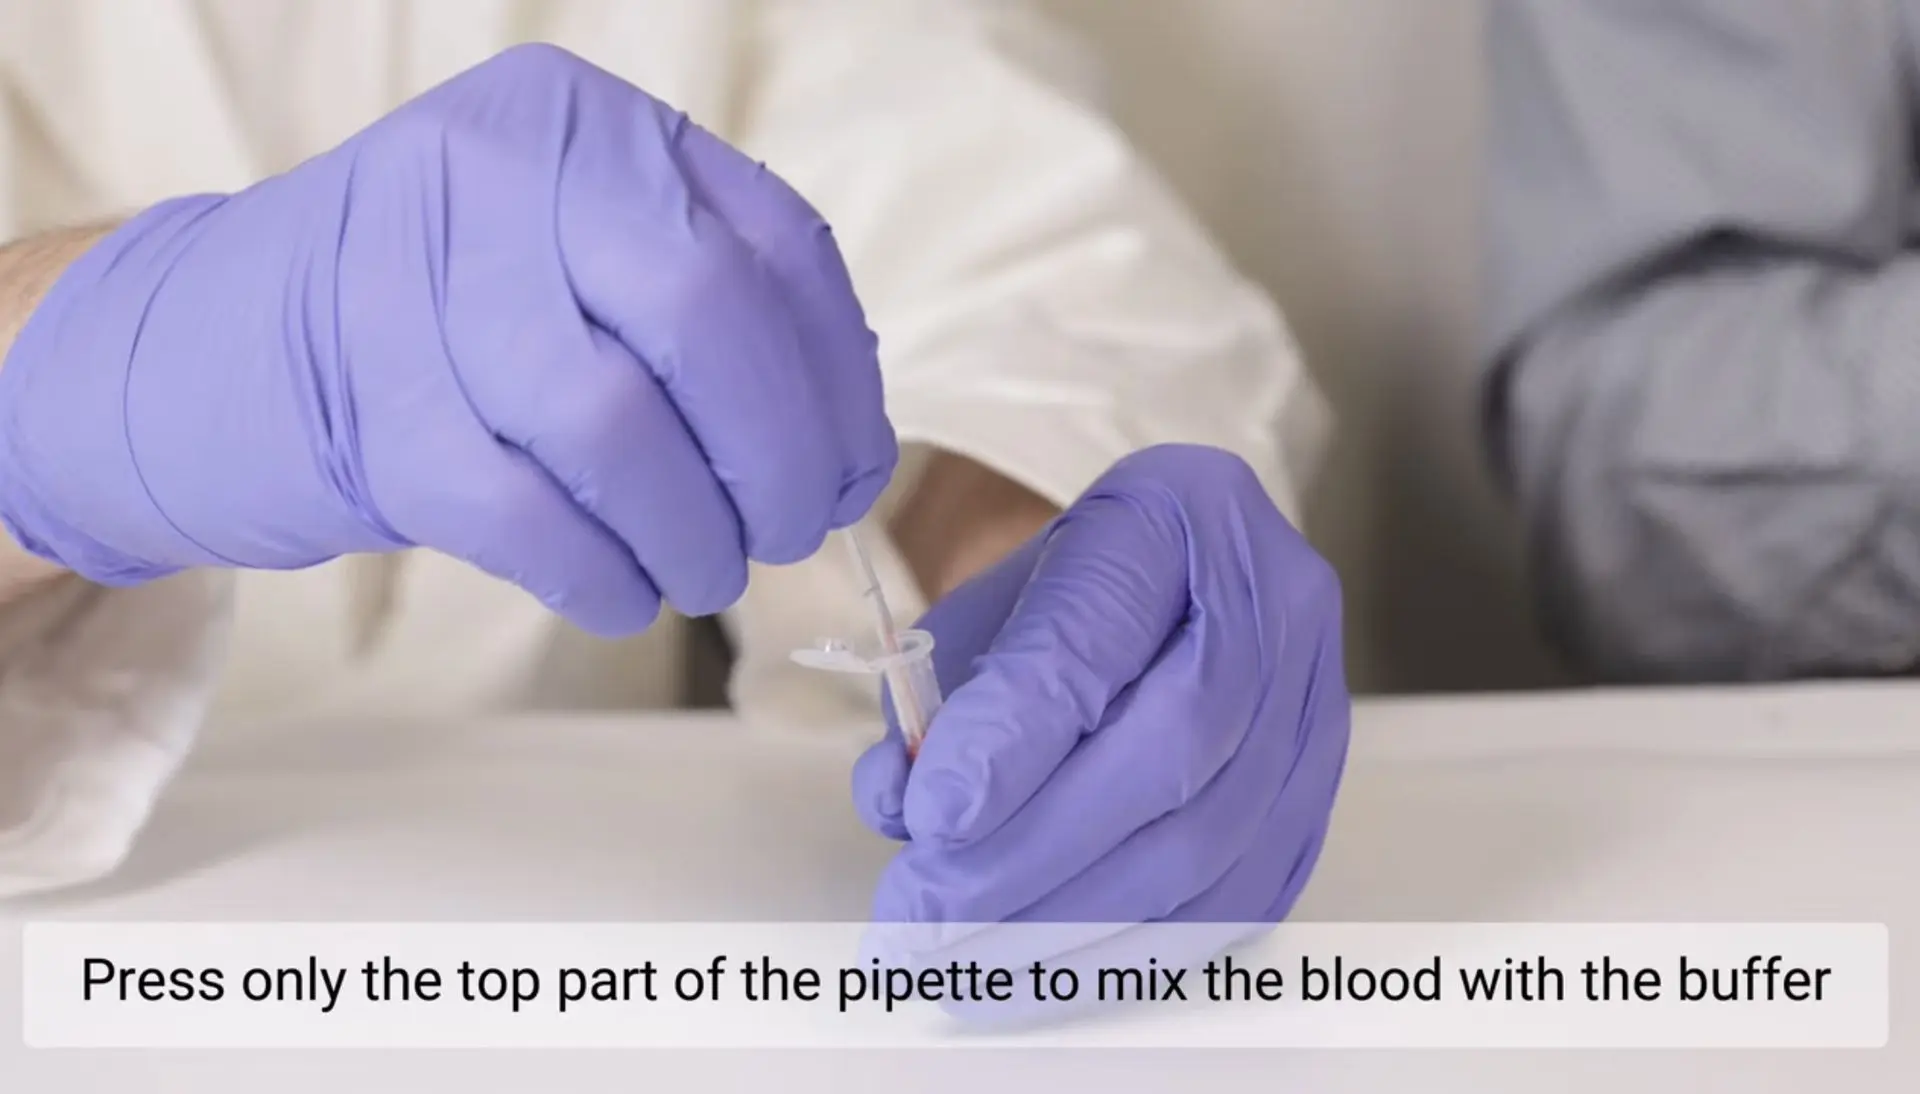
STEP 5: Transfer Blood into Buffer
Gently press only the top of the pipette to release the entire blood sample into the buffer tube for proper mixing.
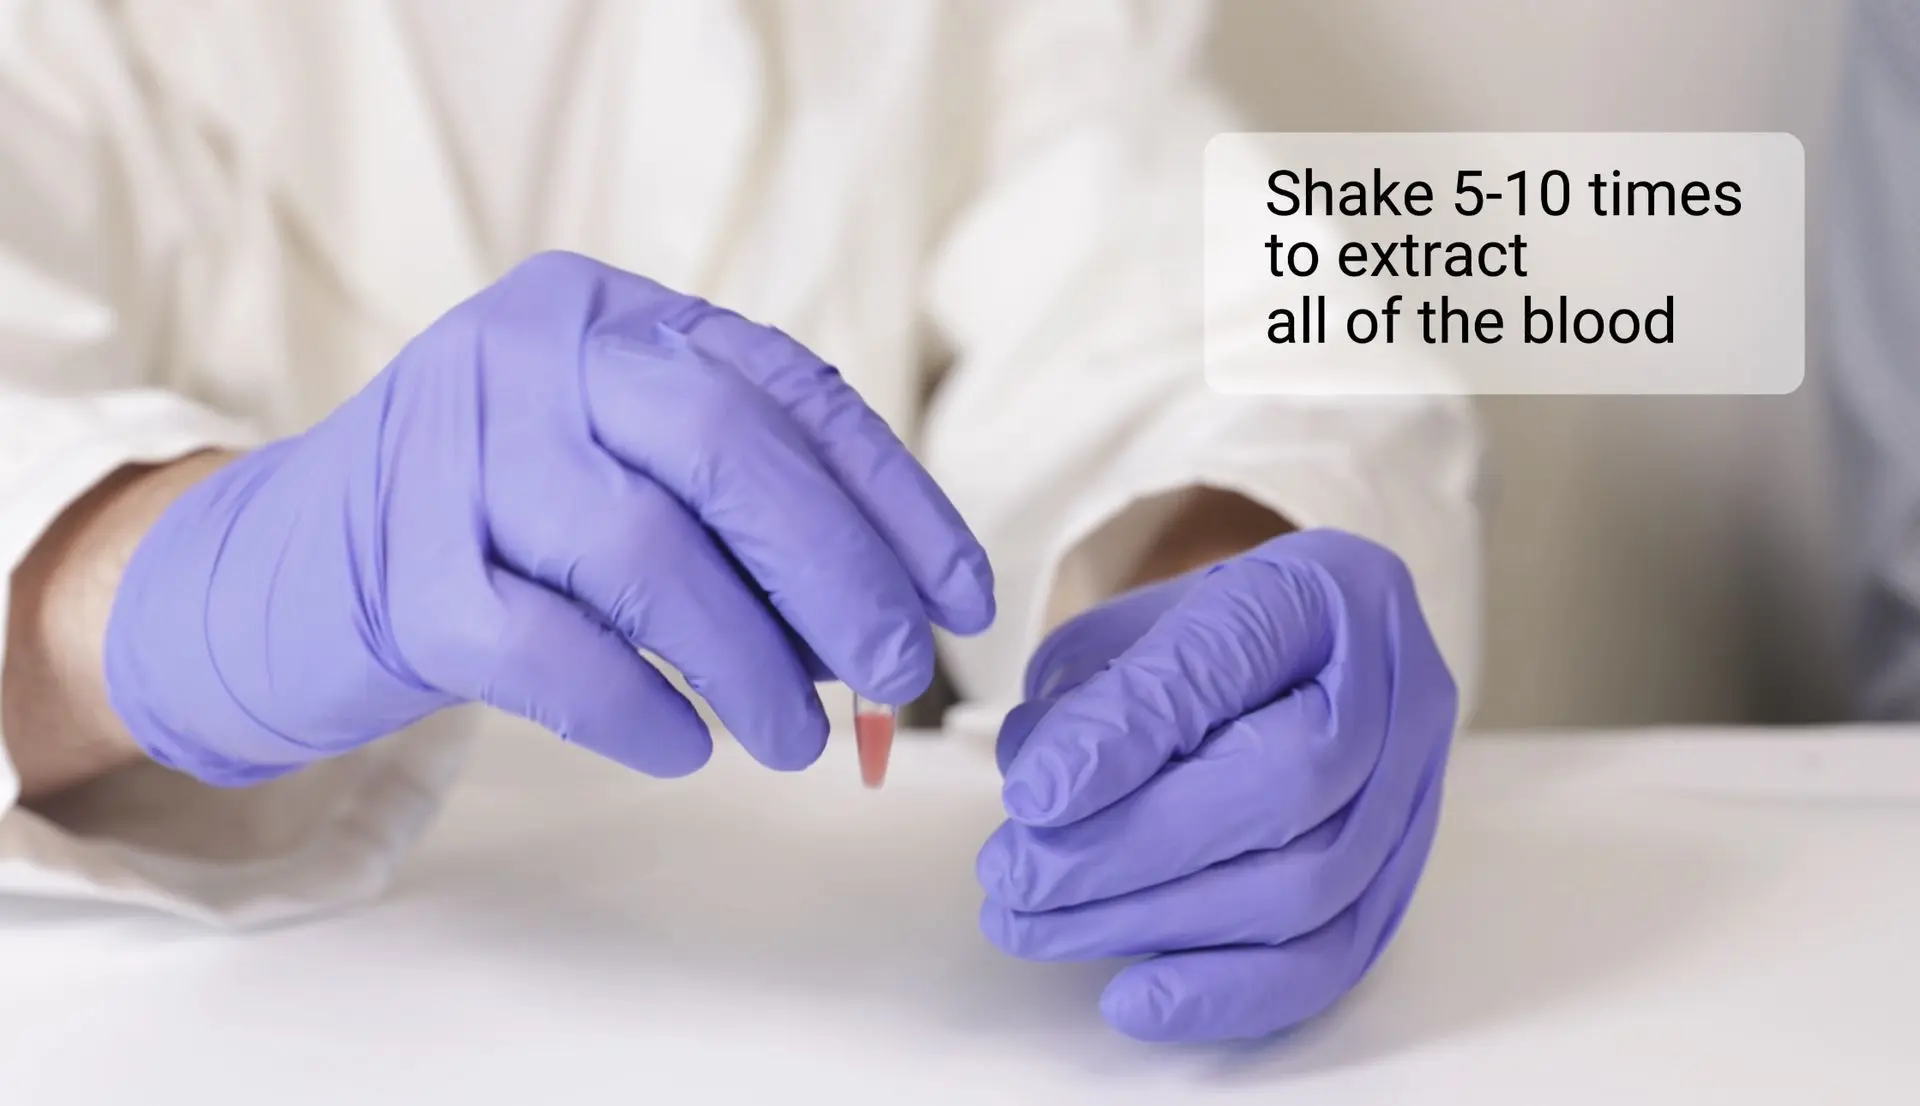
STEP 6: Mix the blood with the buffer
Shake 5–10 times to ensure proper mixing.
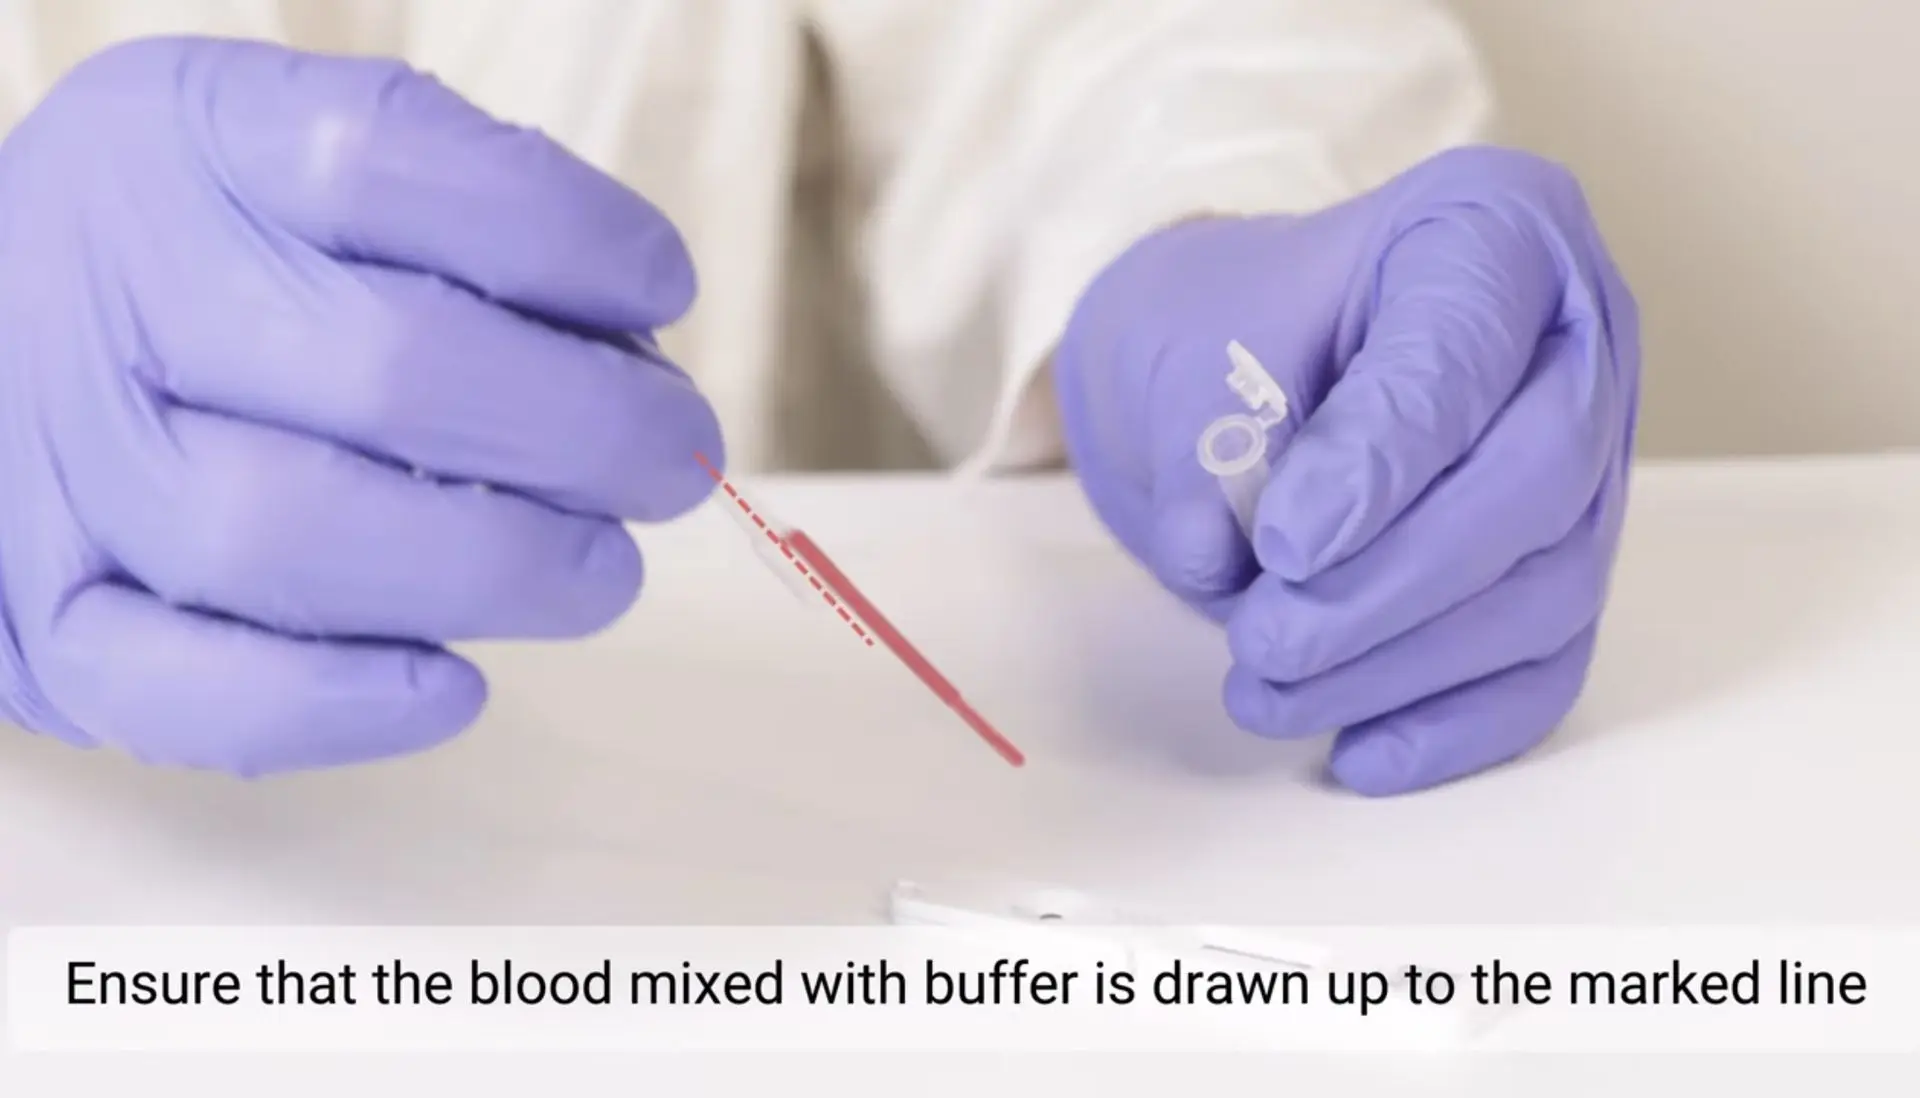
STEP 7: Collect the mixed blood and buffer solution
Using a new pipette with two air bubbles, collect the blood mixed with buffer. Press only the top part of the pipette gently. Fill up to the marked line.
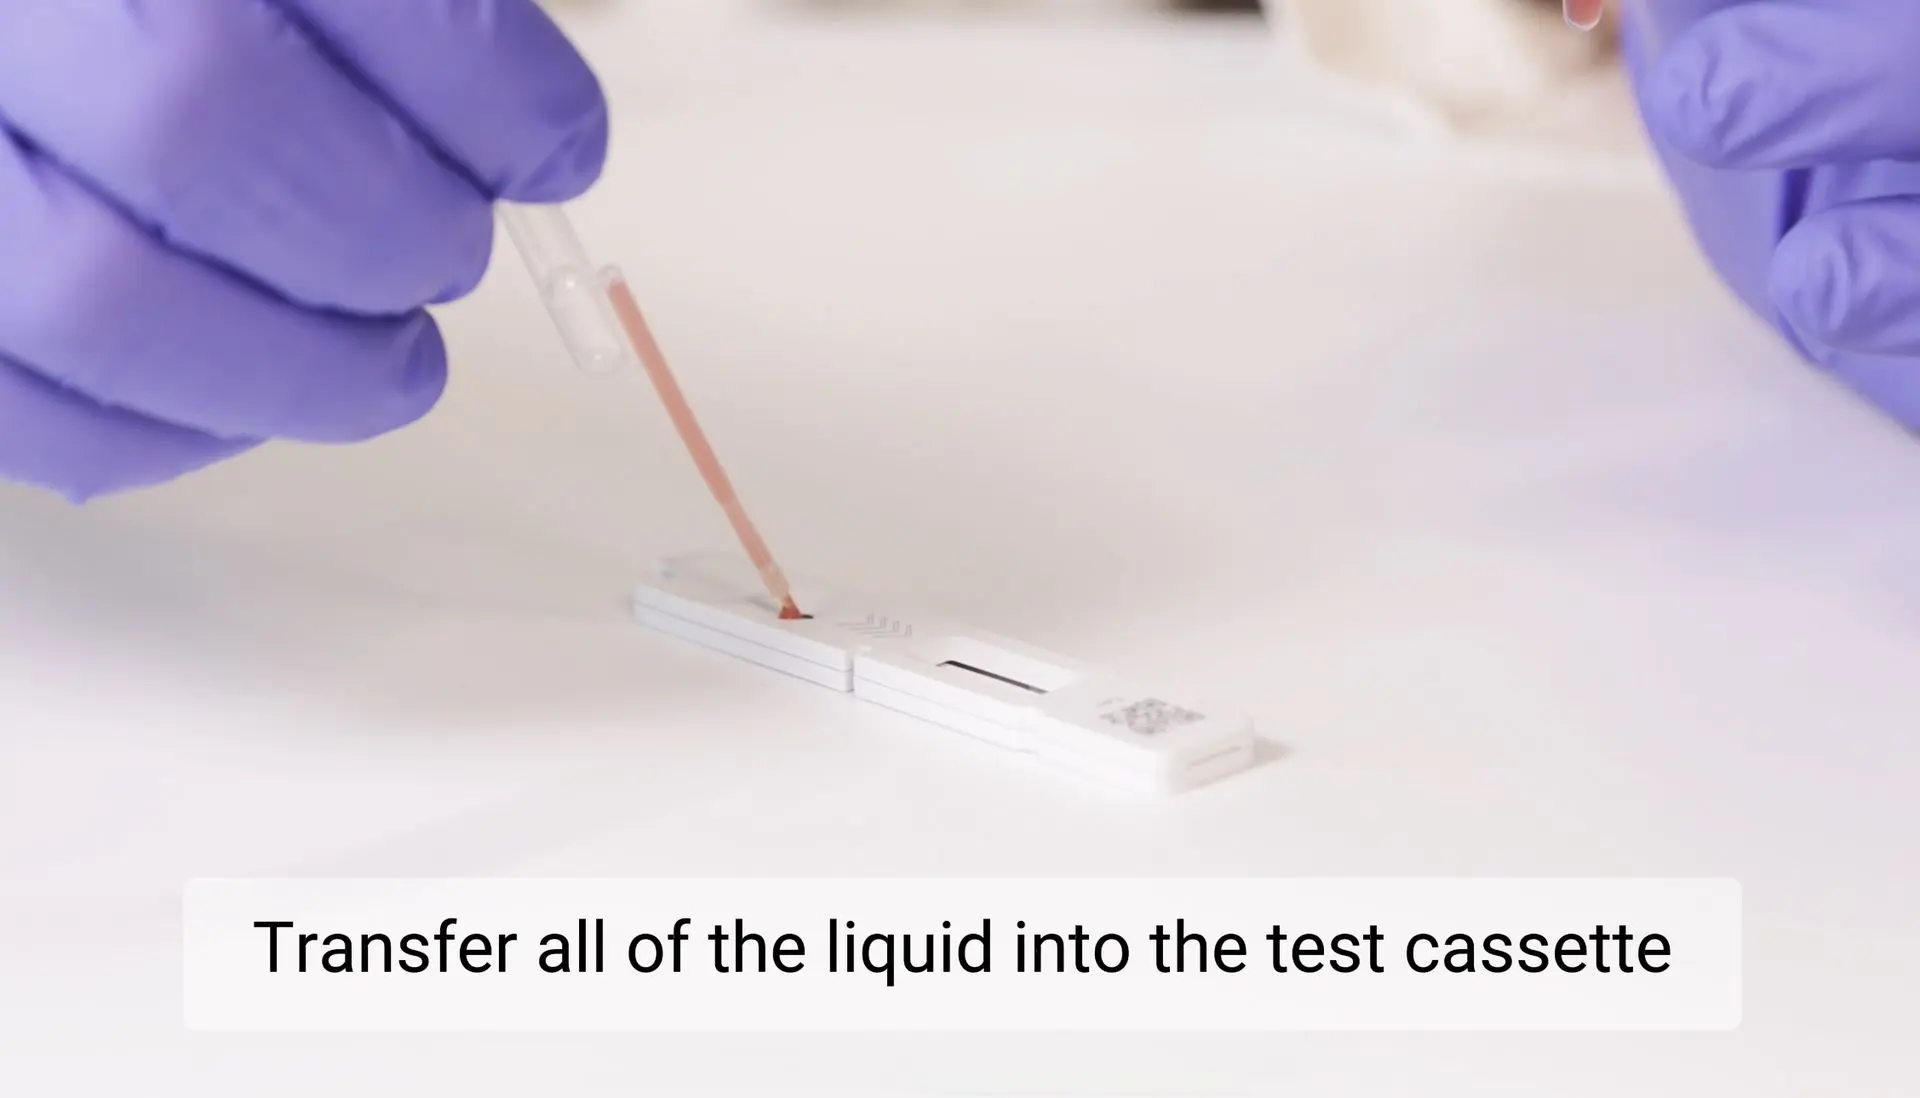
STEP 8: Prepare the test cassette
Transfer the full volume from the pipette into the test cassette.
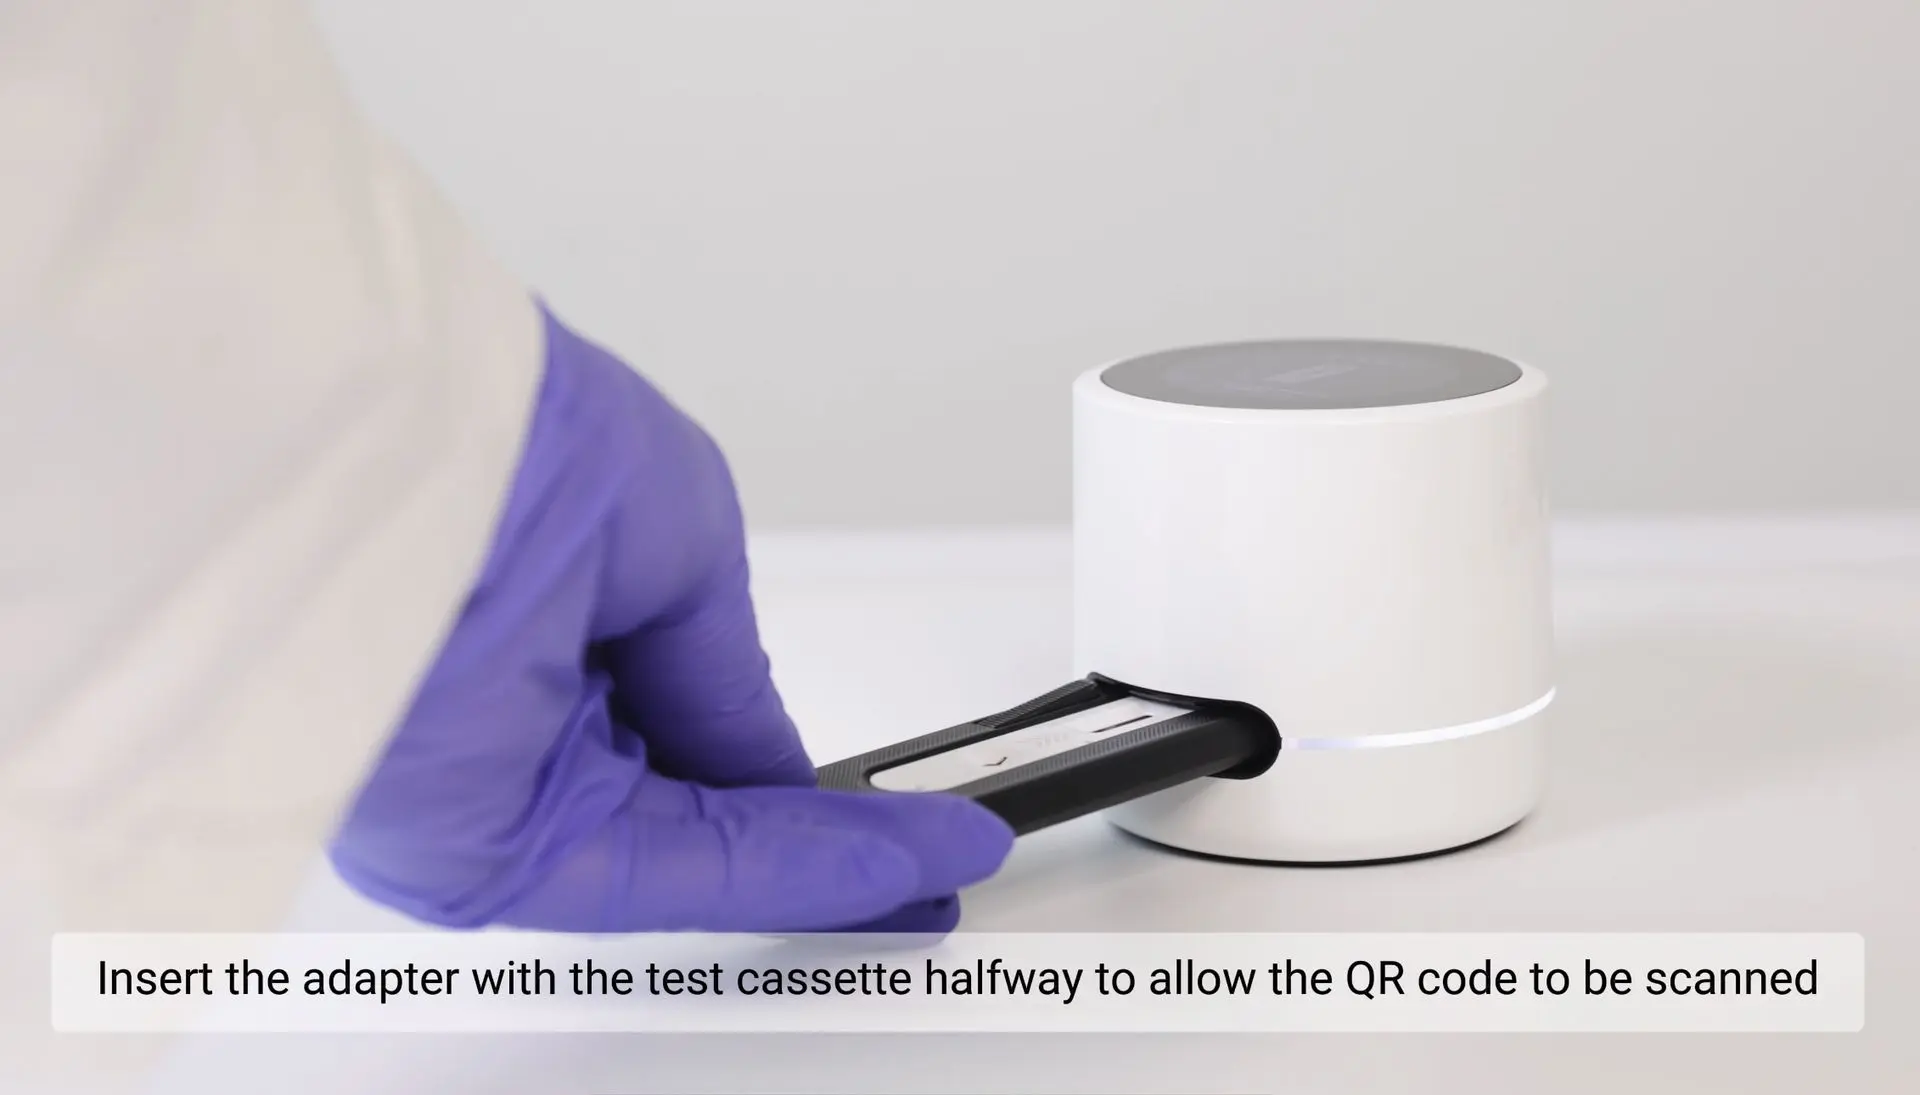
STEP 10: Insert the test cassette halfway into the reader
Insert the test cassette halfway into the reader to enable QR code scanning. Wait until the reader completes the scan and the green indicator light turns on.

STEP 9: Start using the device
Turn on the device using the power button located underneath.
Once the device is on, press “New Measurement” and enter the required data to begin the test.
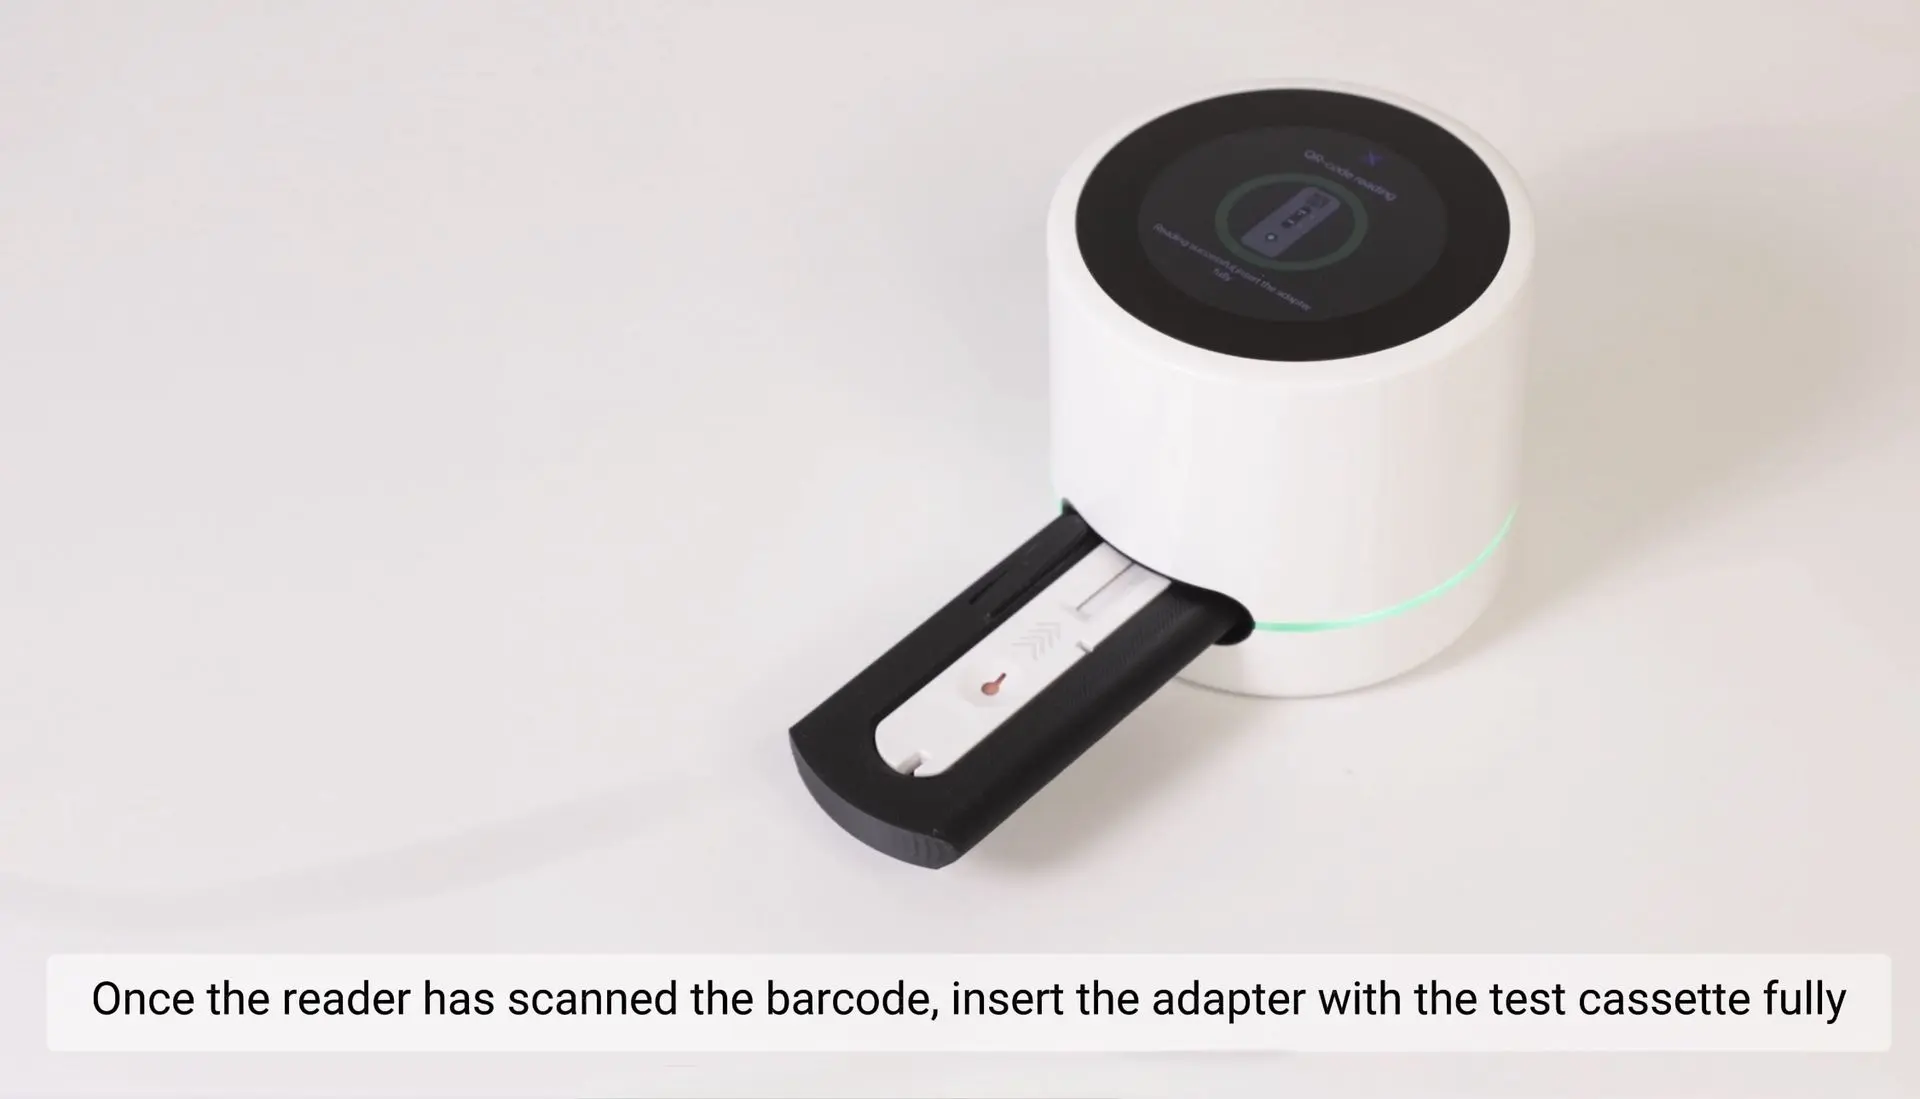
STEP 11: Insert the test cassette fully
Once the indicator light turns green, insert the test cassette completely to start the measurement.

STEP 12: Wait 15 minutes

Your result is ready
Scan QR for quick results on your phone in PDF form
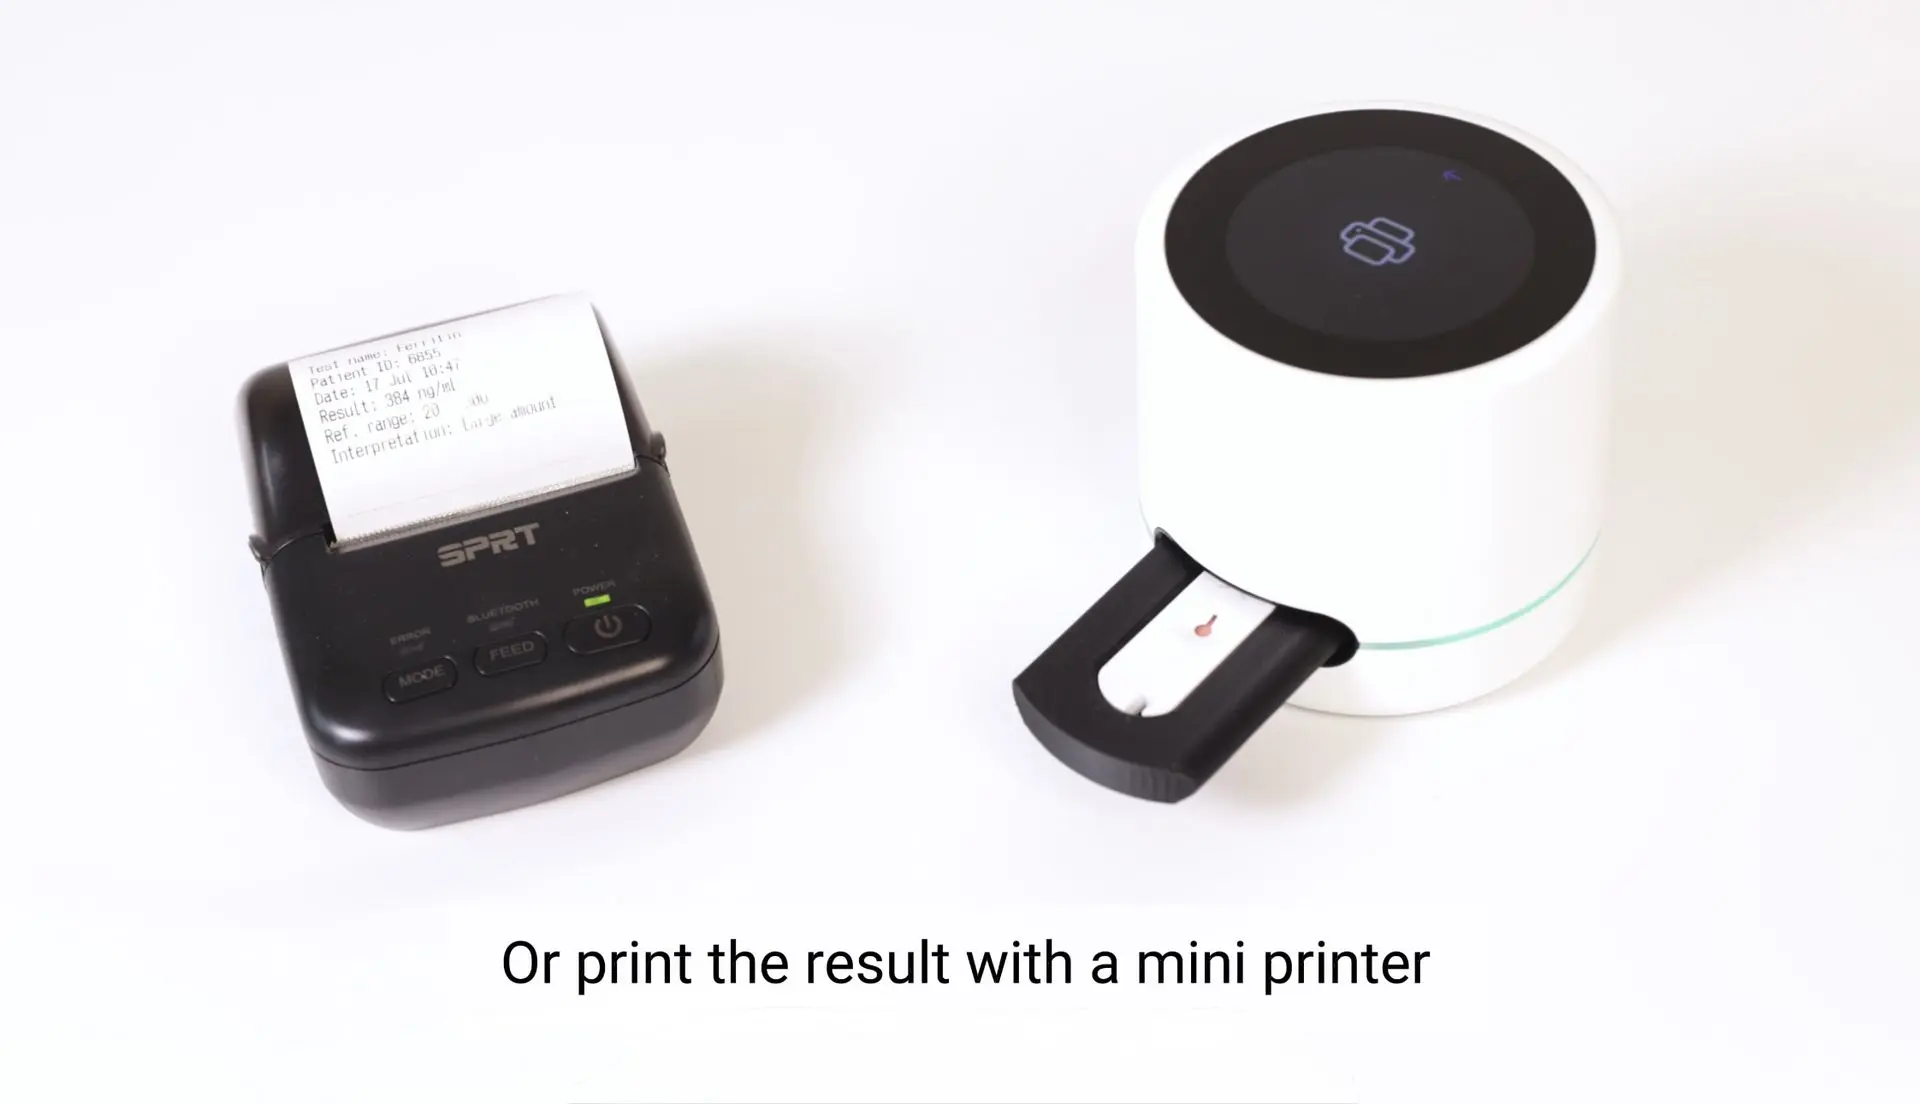
Or print the result with a mini printer
DISPOSAL:
- Dispose of used cassettes, pipettes, and lancets as biohazardous waste.
- Do not reuse any test components.
- Reader and adapter are reusable; clean according to the official maintenance guide.