QC Procedure
Using Igloo Reader Pro with QC Calibration Test
Step 1:
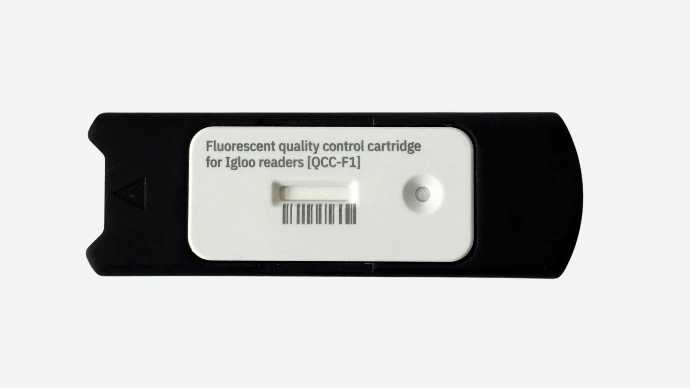
Prepare the QC Cartridge
- Make sure you have an official QC calibration cassette
- Insert the cassette into the designated QC adapter
- Ensure the cassette is undamaged and not expired
Step 2:
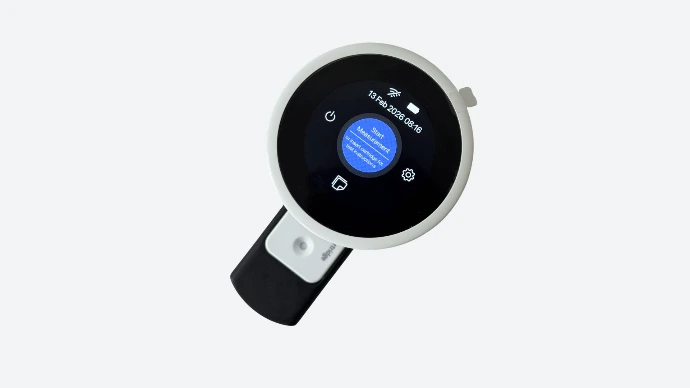
Power on the Reader
- Press and hold the round power button located on the bottom side of the Igloo Reader Pro
- Wait for the screen to fully load to the main menu
Step 3:
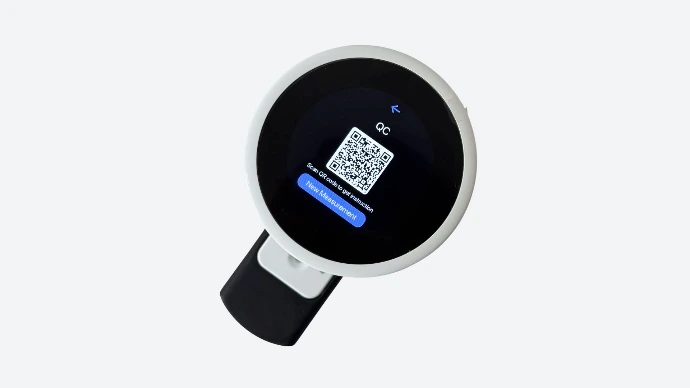
Insert the Adapter into the Reader
Insert the adapter into the reader (the arrow shows which side the adapter should face) and wait until the QR code appears on the screen and the Start measurement button becomes available.Step 4:
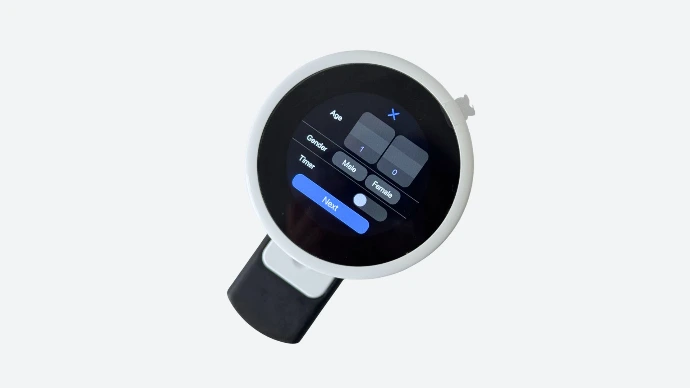
Data can be left blank
You can skip the timer and leave the fields empty when performing the QC testStep 5:
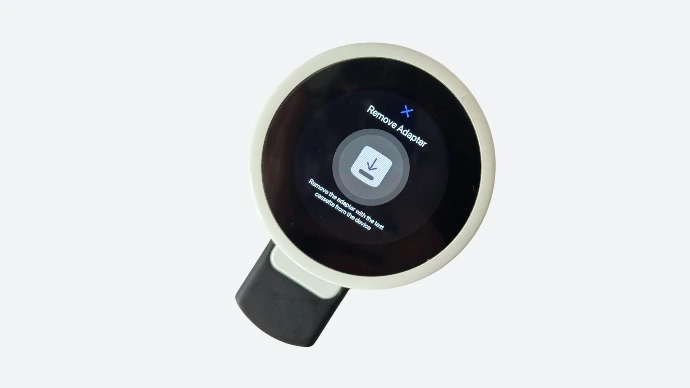
Follow the on-screen instructions
Remove the QC test and insert it againStep 6:
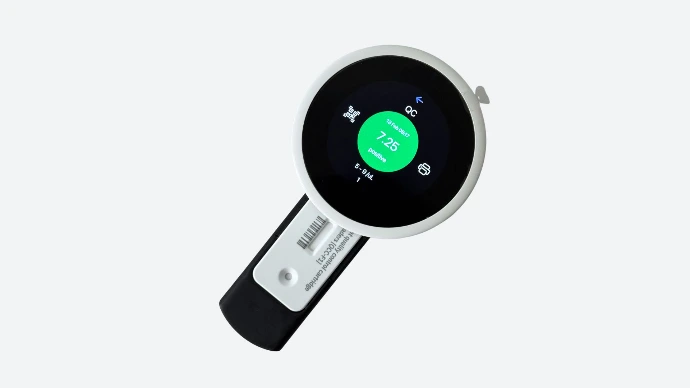
The reader calibration using the QC test has been successfully completed
Step 7:
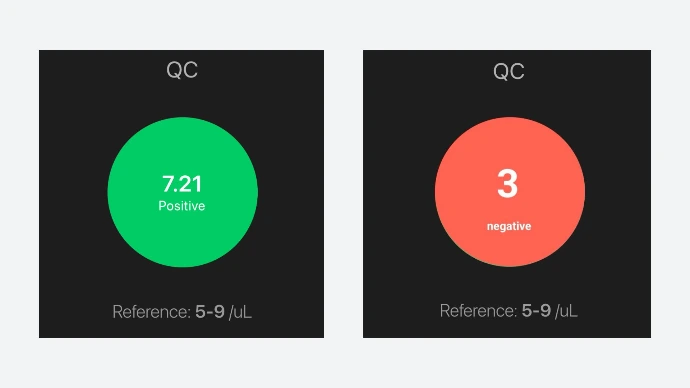
Reference value check
In normal conditions, the reference value should be between 5 and 9, any other value is incorrect and outside the normal range.
- ✅ QC successful — validity extended for 12 months
- ❌ QC failed — repeat test or contact technical support
Step 8:
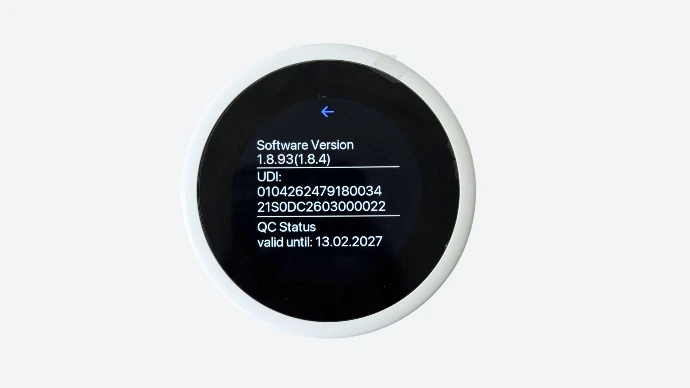
Confirm QC Status
To verify the QC expiration:- Go to Settings → About
- Check the field: QC valid until [date]