How to perform test
Ferritin | Wizbiotech
On this page
Video tutorial for Ferritin by Wizbiotech
Supplies overview
- 1x Ferritin Test Cassette
- 1x Fixed-Volume Capillary Pipette
- 1x Sterile Lancet
- 1x Desinfection wipe
- 1x Buffer Solution Tube
- 1x Igloo Reader
- 1x Wizbiotech Adapter
Included in test box:
- 1x Ferritin Test Cassette
- 1x Fixed-Volume Capillary Pipette
- 1x Buffer Solution Tube
Additionally needed to perform test:
- 1x Sterile Lancet
- 1x Desinfection wipe
- 1x Igloo Reader
- 1x Unimed Adapter

Text instructions
STEP 1: Prepare and Disinfect the Sampling Area
Lay out all kit components. Disinfect the fingertip with the alcohol swab and let it dry.
Warm hands make blood sampling easier! Allow the test subject to warm their hands beforehand with a warm cloth, warm water, or by gently rubbing their hands together.
STEP 2: Perform a Fingerstick
Use the sterile lancet to puncture the side of the fingertip. Gently massage the finger to form a blood drop.

STEP 3: Remove the first droplet of blood
Wipe away the first drop of blood with a clean tissue or sterile gauze before collecting the sample. This ensures accuracy and prevents contamination.

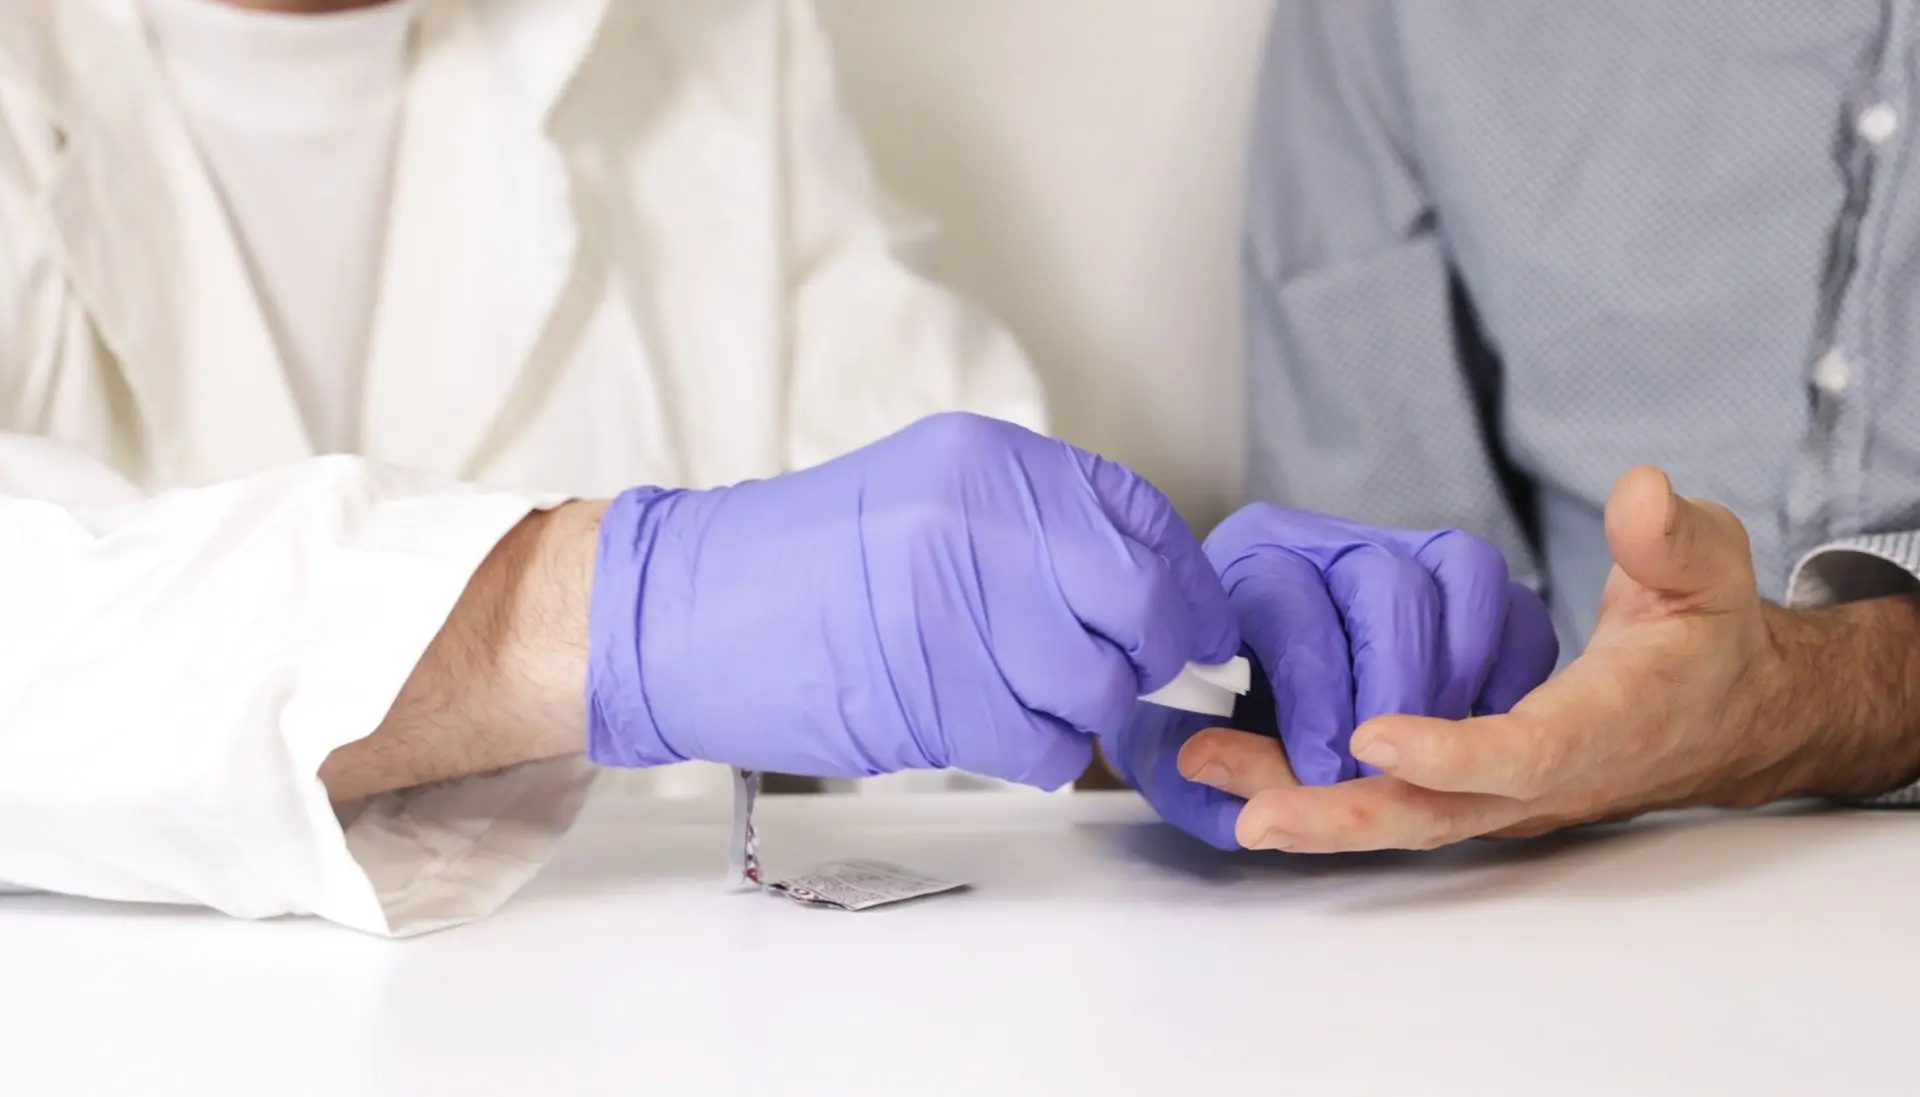
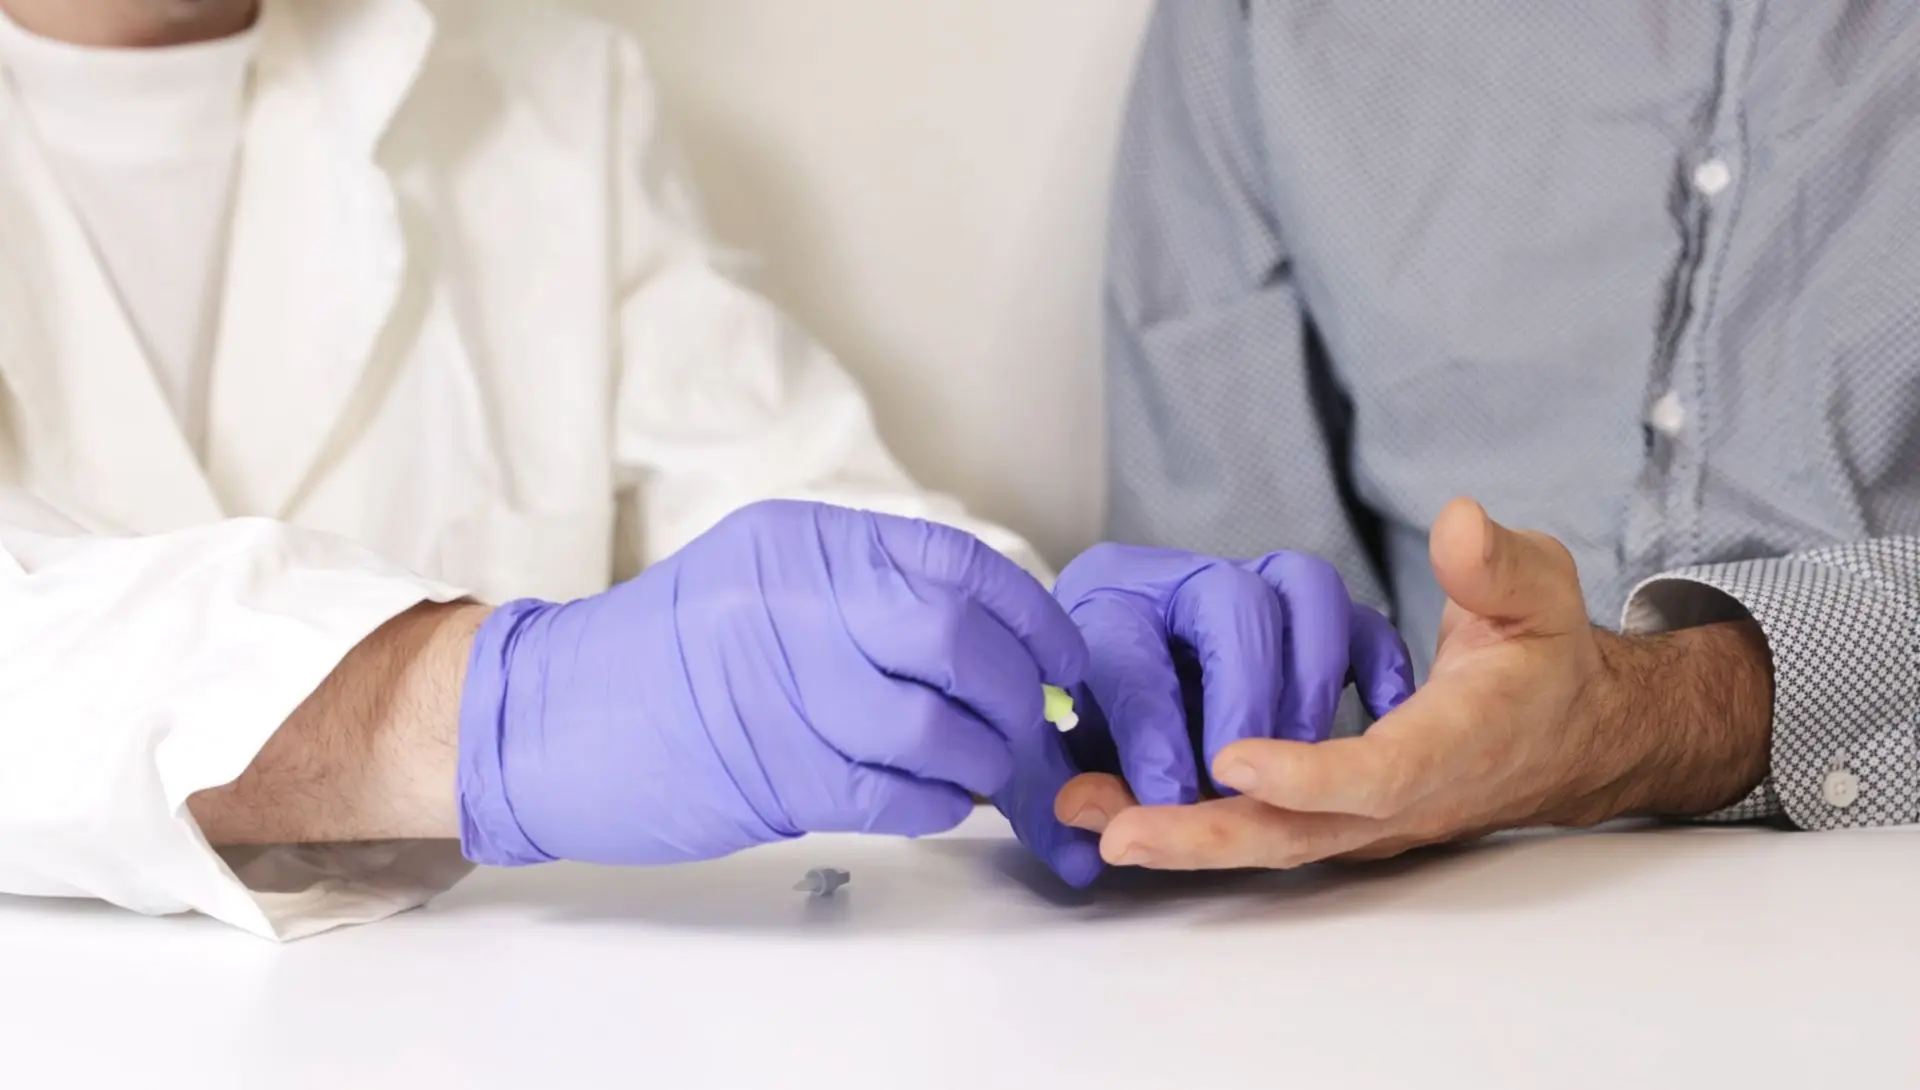
STEP 4: Collect exactly 20 µL of blood
The blood will fill the pipette automatically by capillary action.
Important: Ensure the blood sample is collected properly.

Important
Ensure that the pipette is completely filled without any bubbles. This will ensure that you obtain the exact 10 µL of blood required.
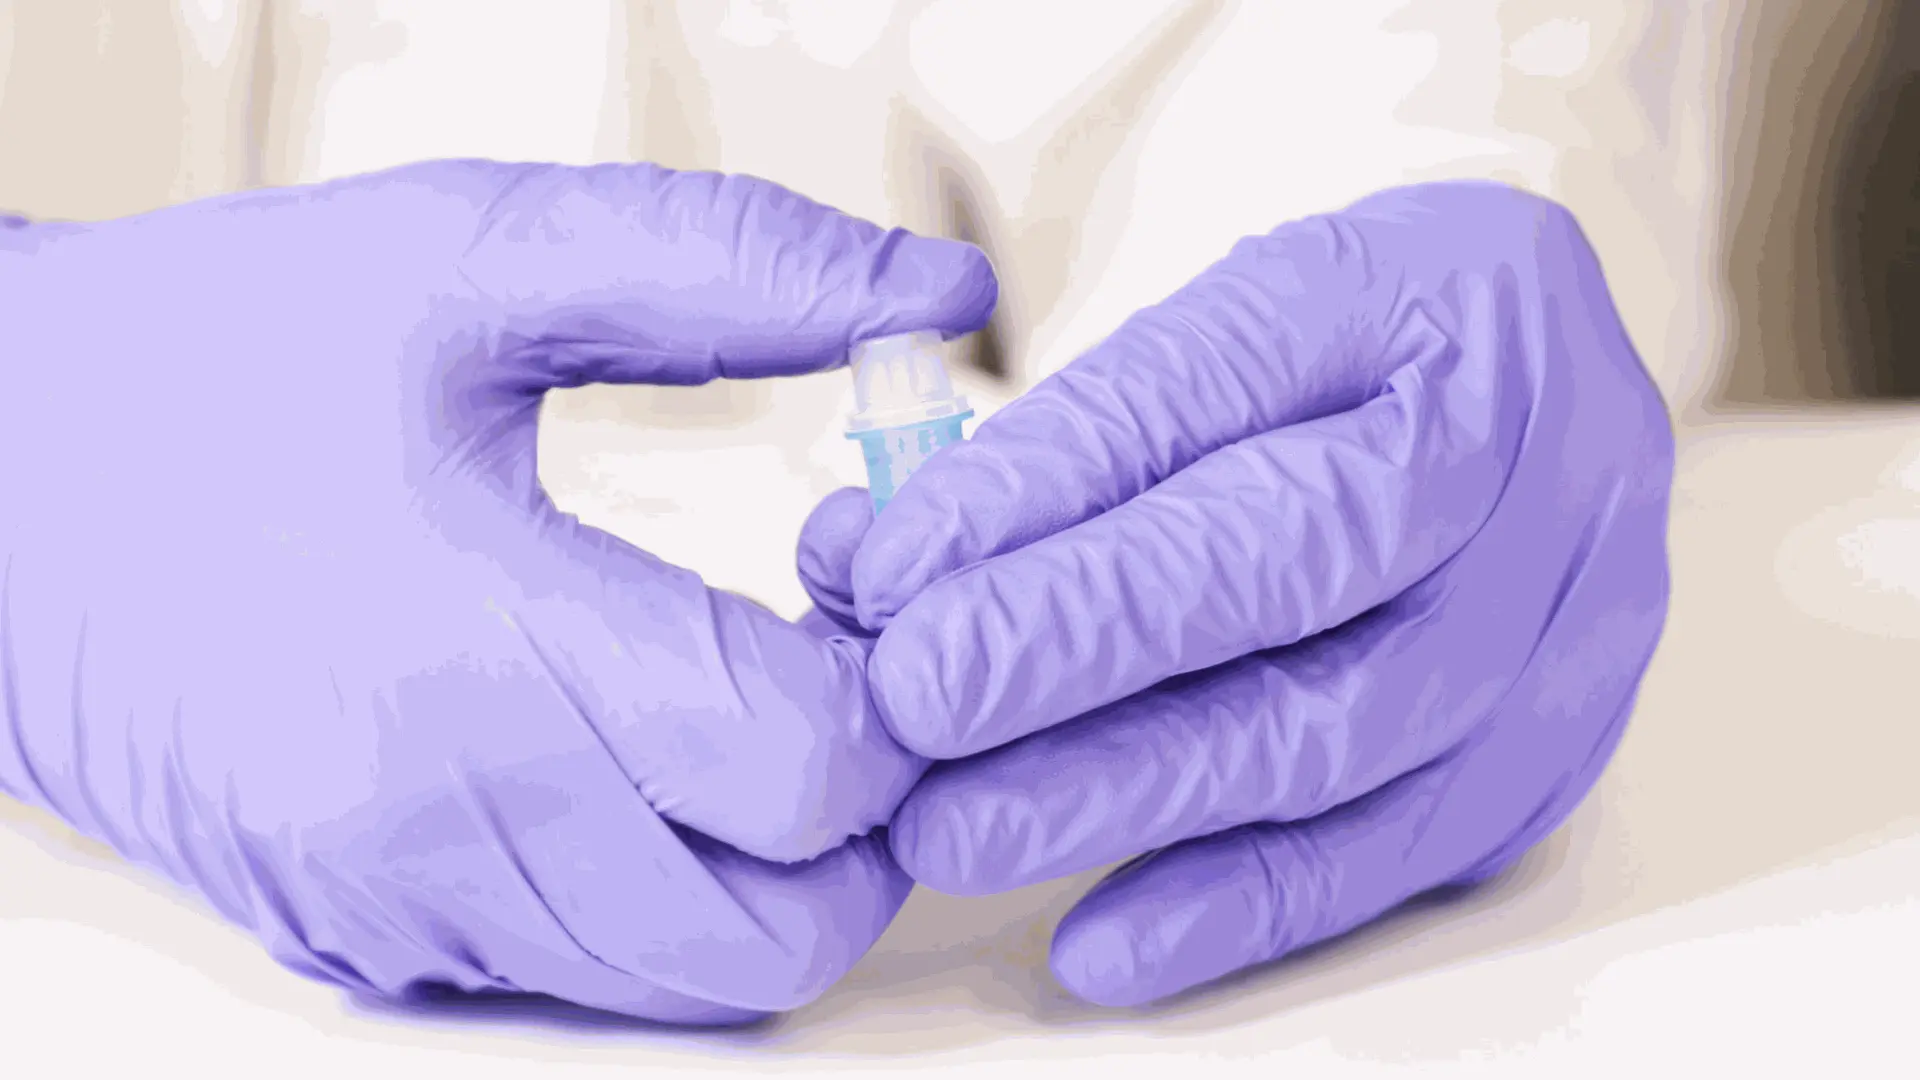
STEP 5: Transfer Blood into Buffer
Mix the blood with the buffer.
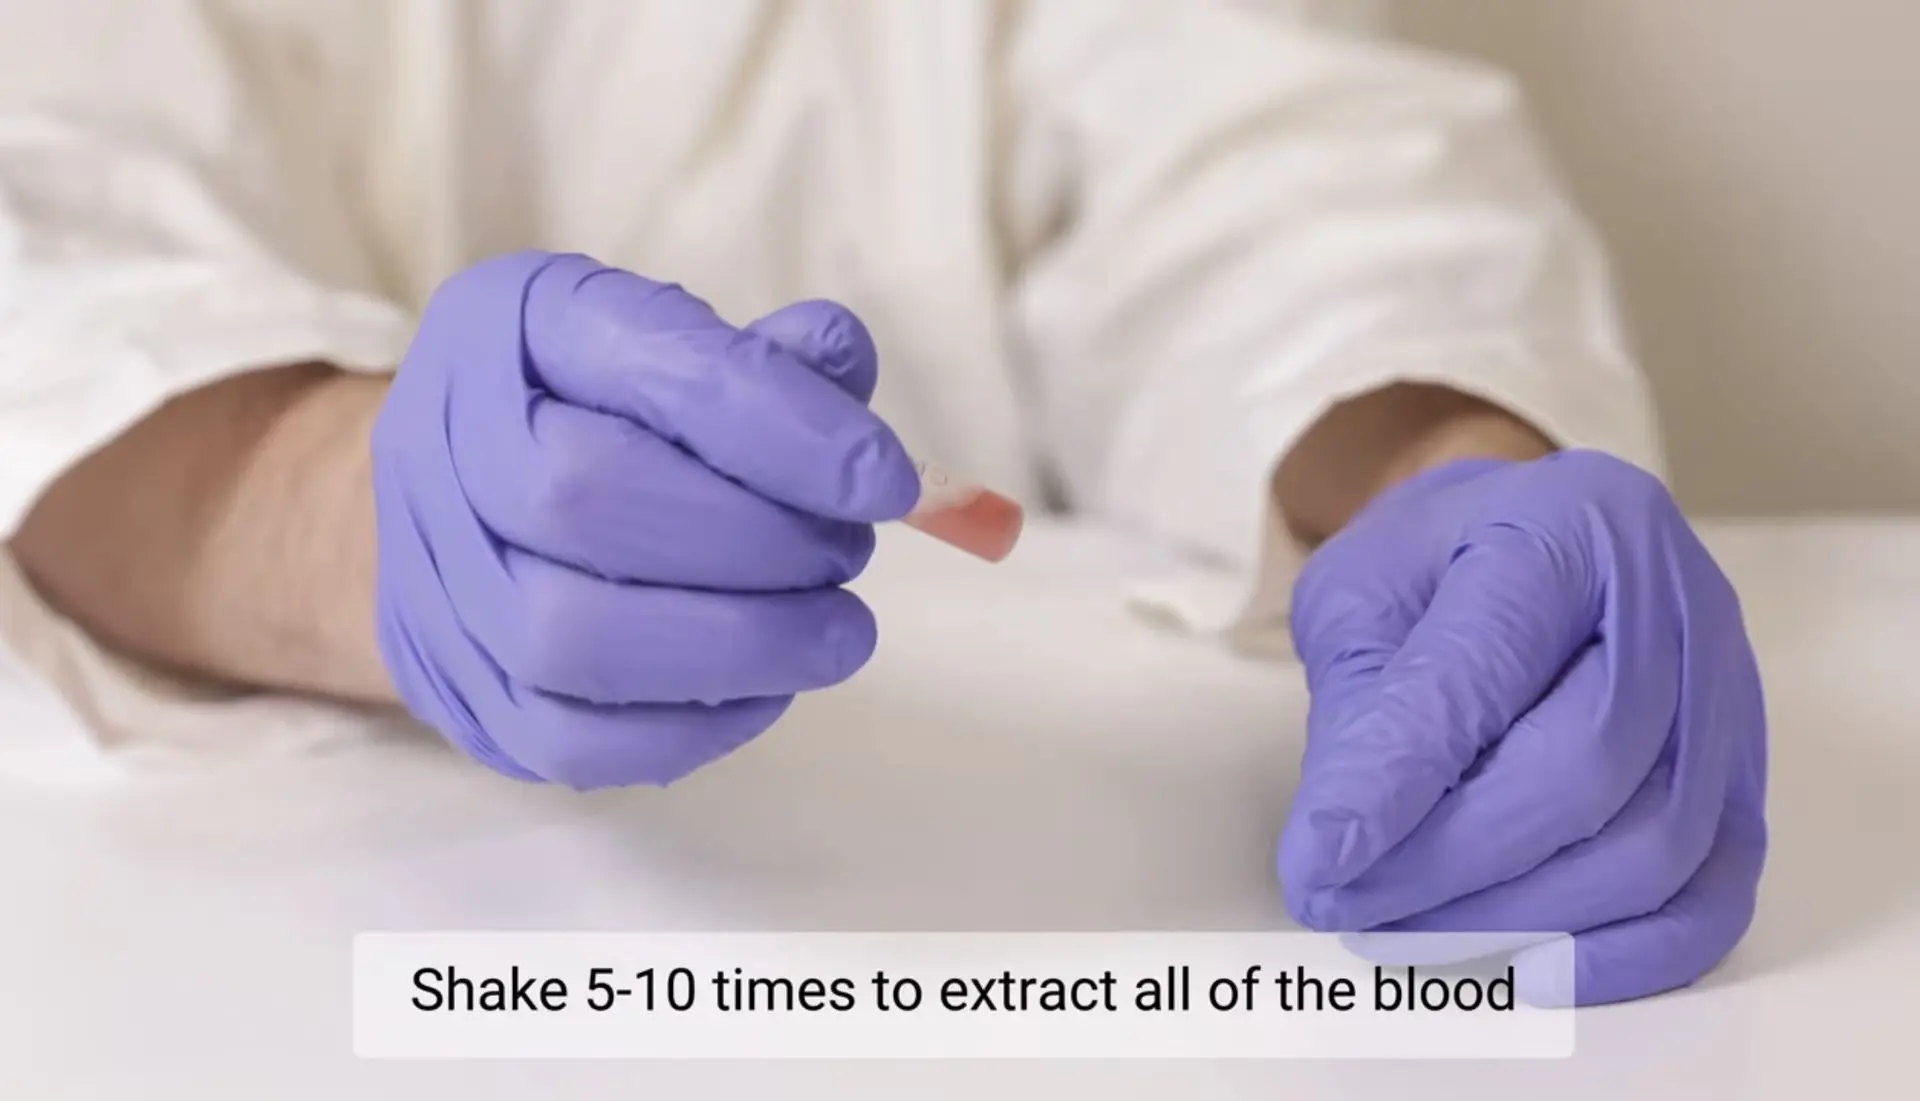
STEP 6: Mix the blood with the buffer
Shake 5–10 times to ensure proper mixing.
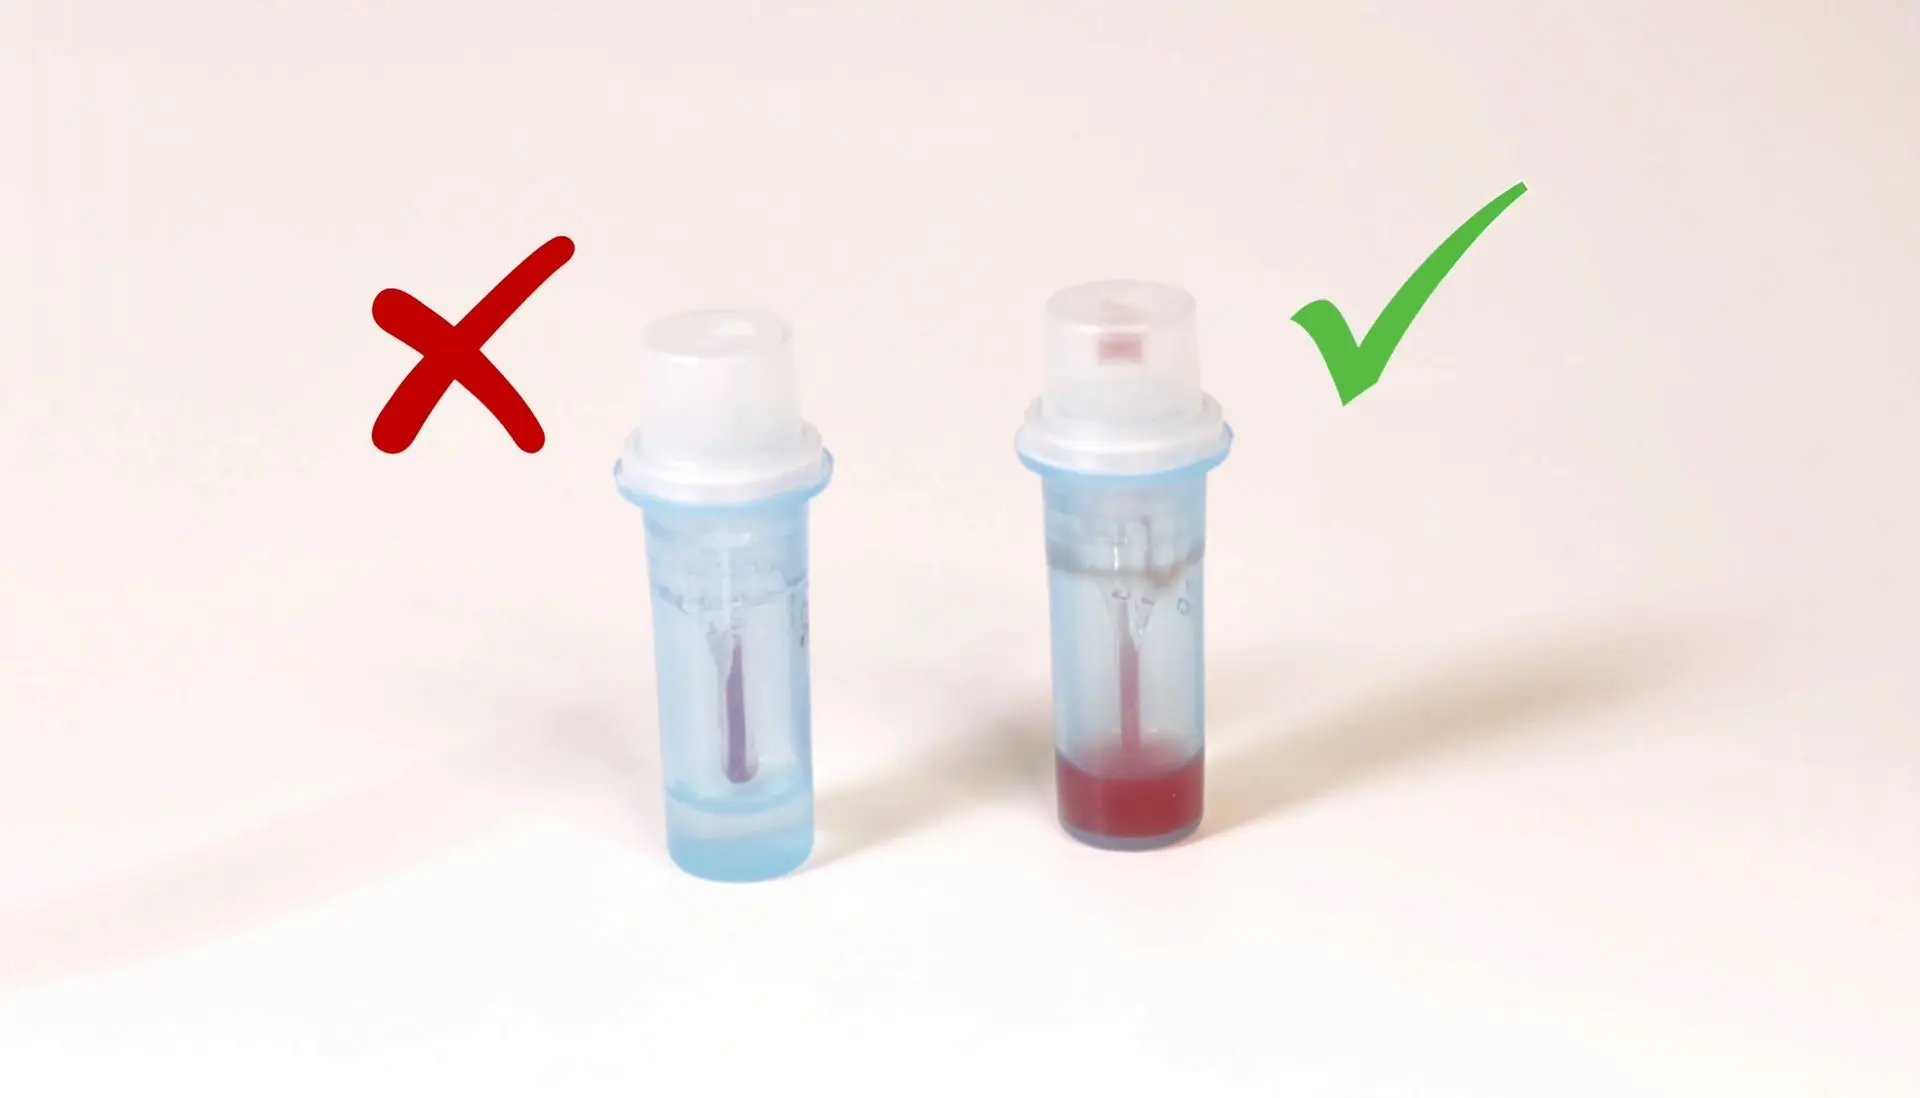
Important
Make sure the blood and buffer are well mixed and show a uniform color.
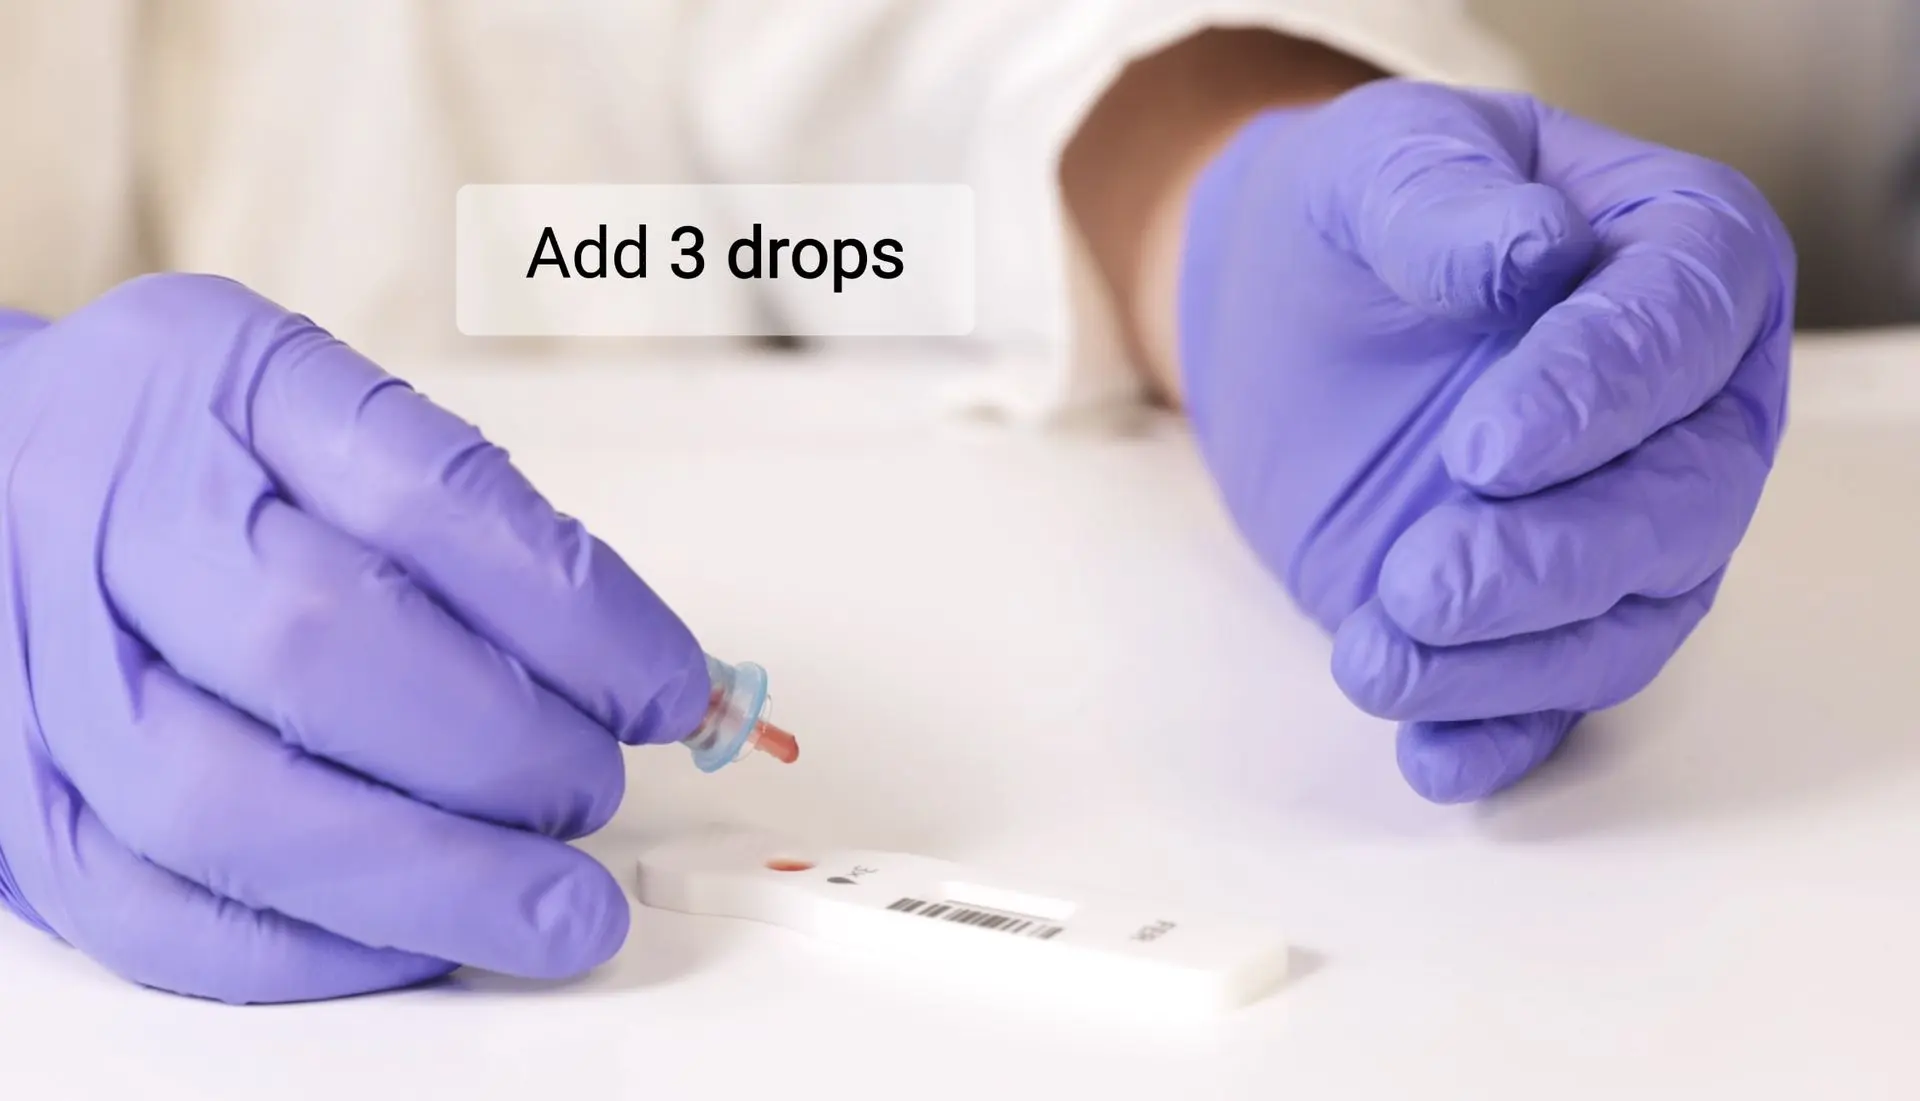
STEP 7: Prepare the test cassette
Add 3 drops of the mixed sample into the test cassette

STEP 8: Start using the device
Turn on the device using the power button located underneath.
Once the device is on, press “New Measurement” and enter the required data to begin the test.
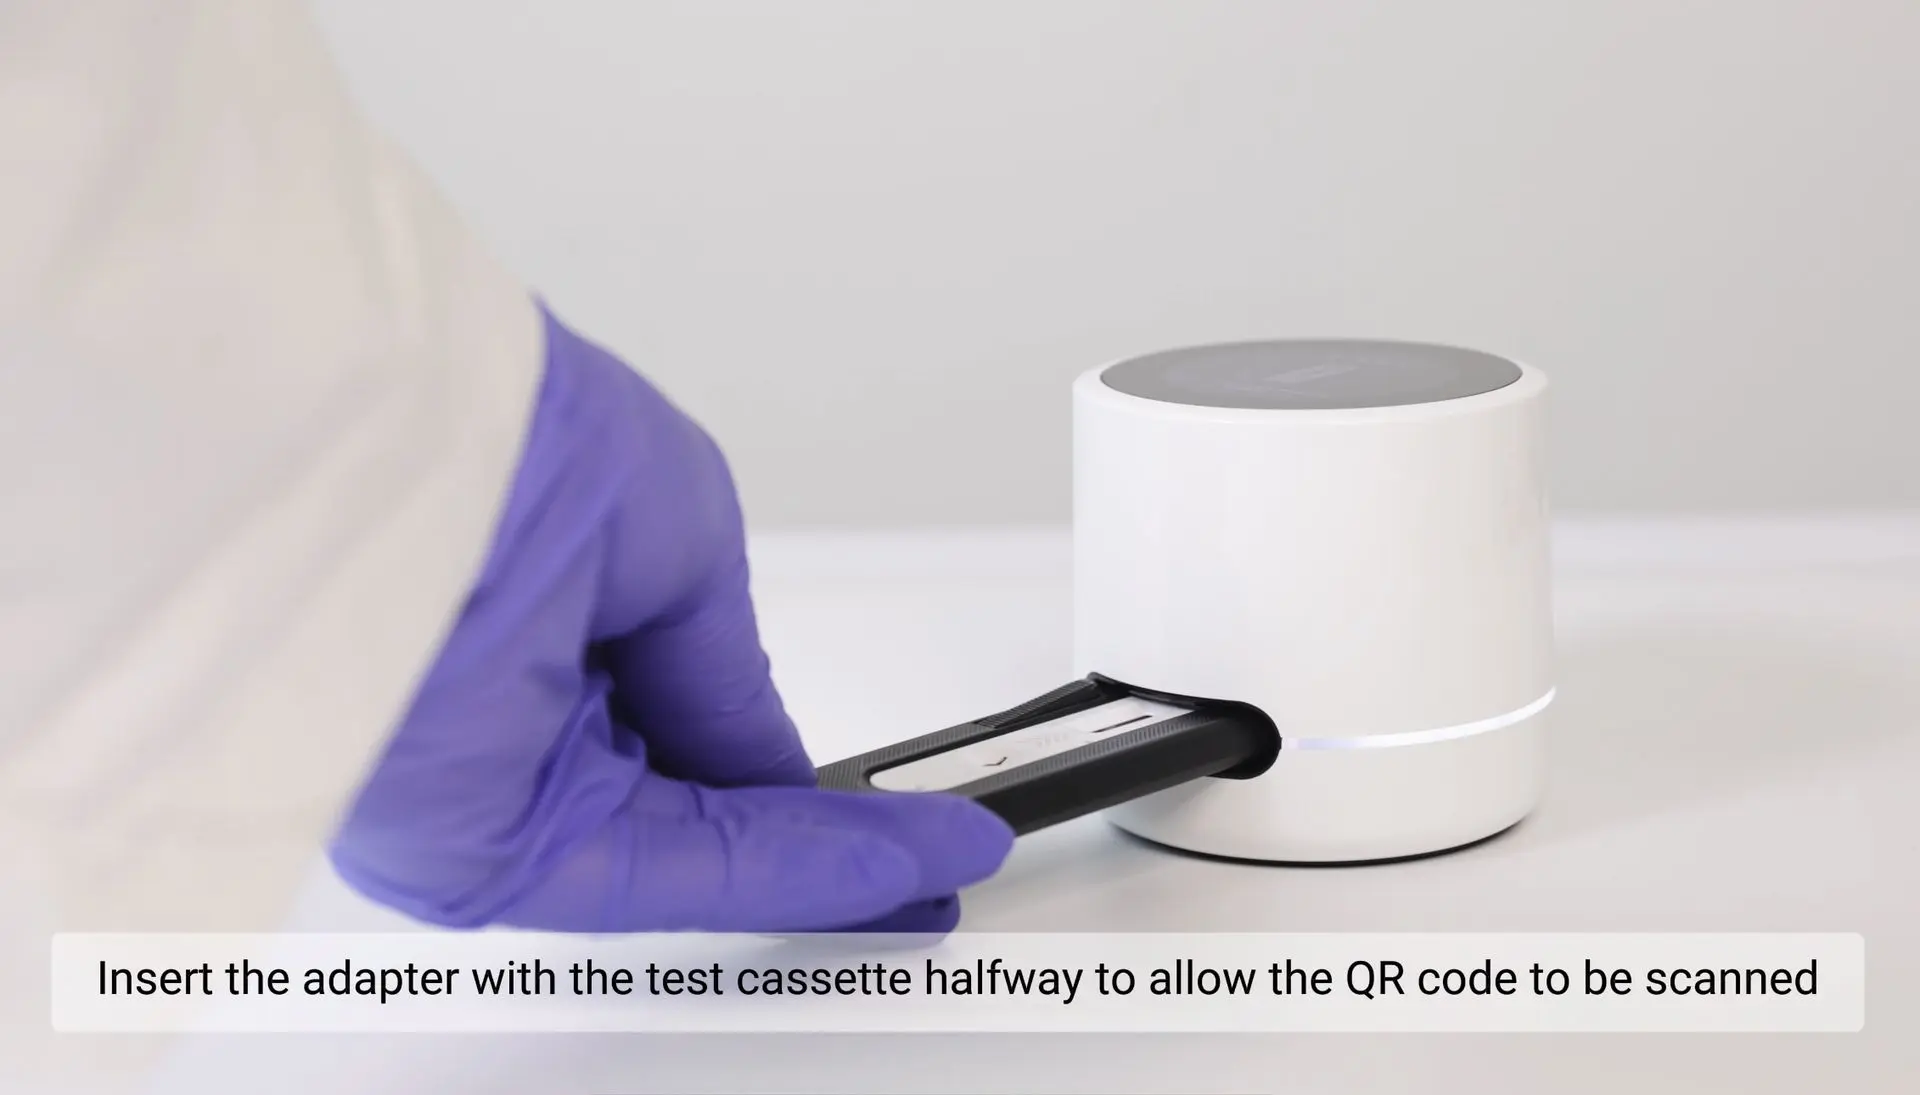
STEP 9: Insert the test cassette into the reader
Insert the test cassette into the reader — the measurement will start automatically.

STEP 10: Wait 15 minutes
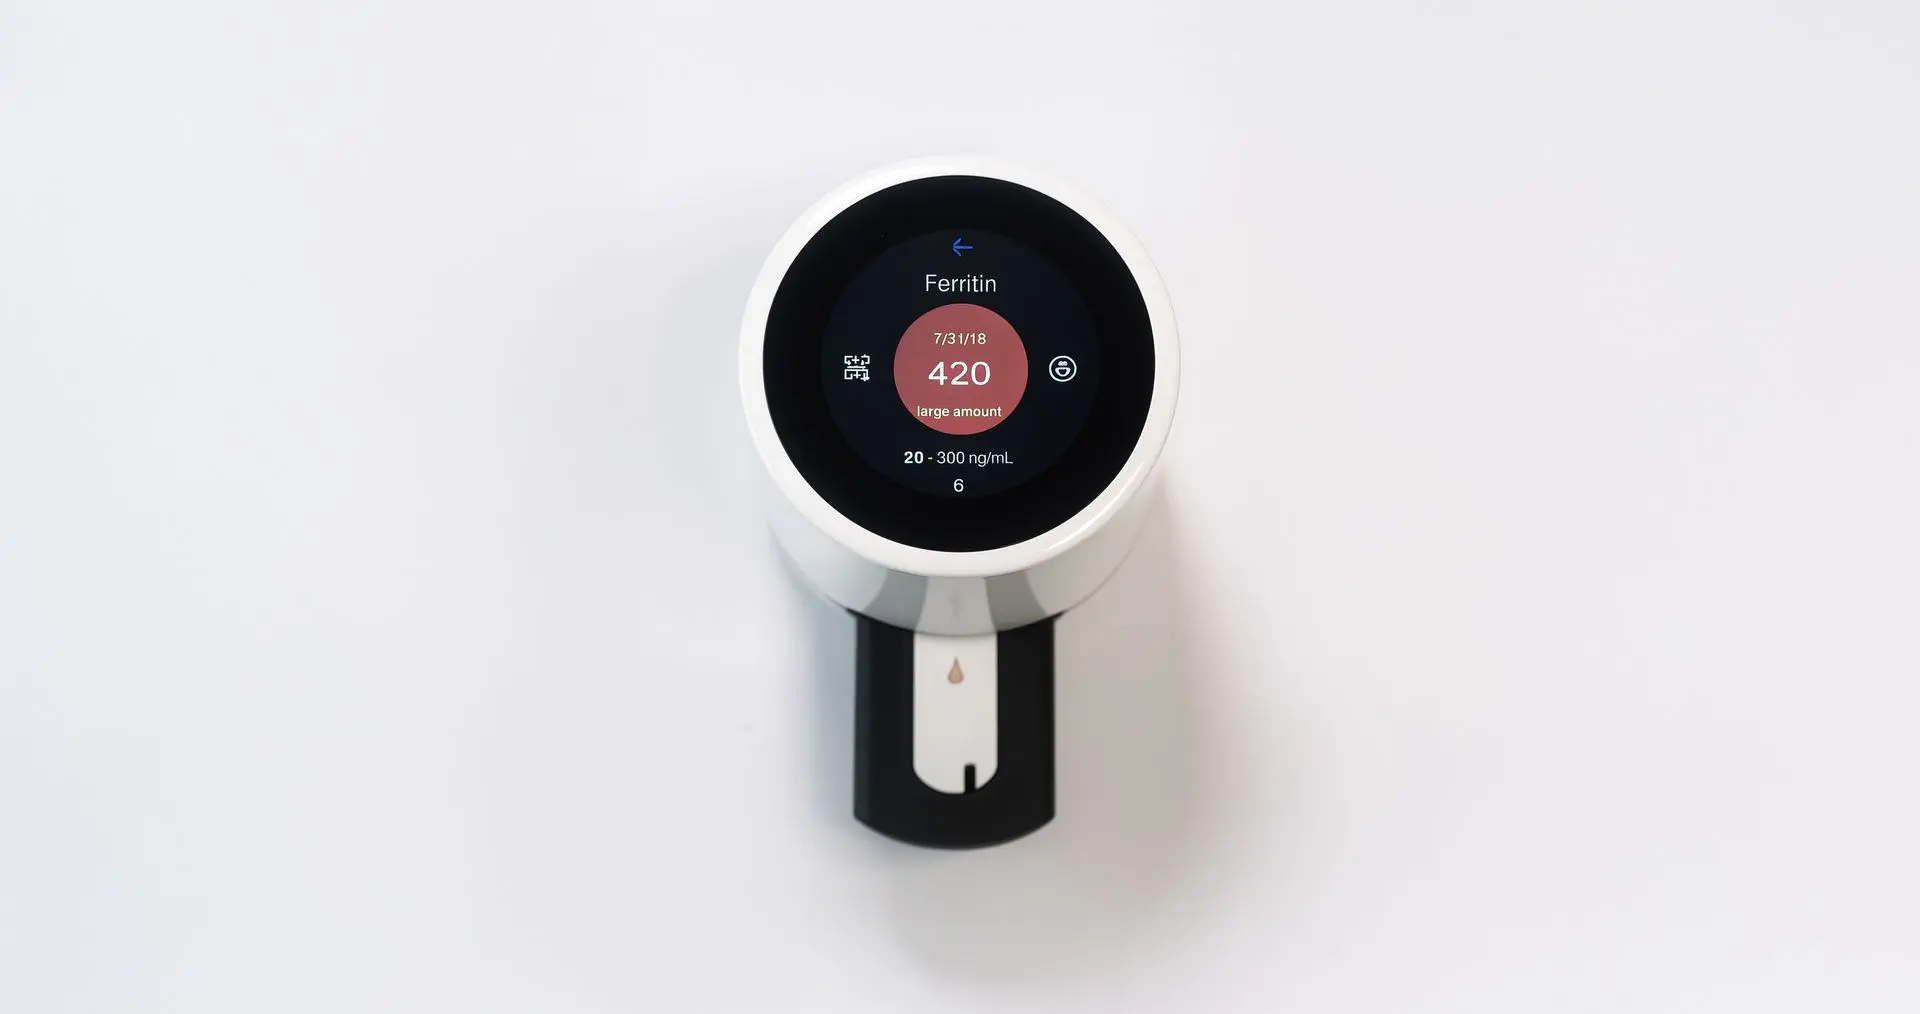
STEP 11: Result is ready
When the timer ends, your result will be displayed on the screen.

Scan QR for quick results on your phone in PDF form
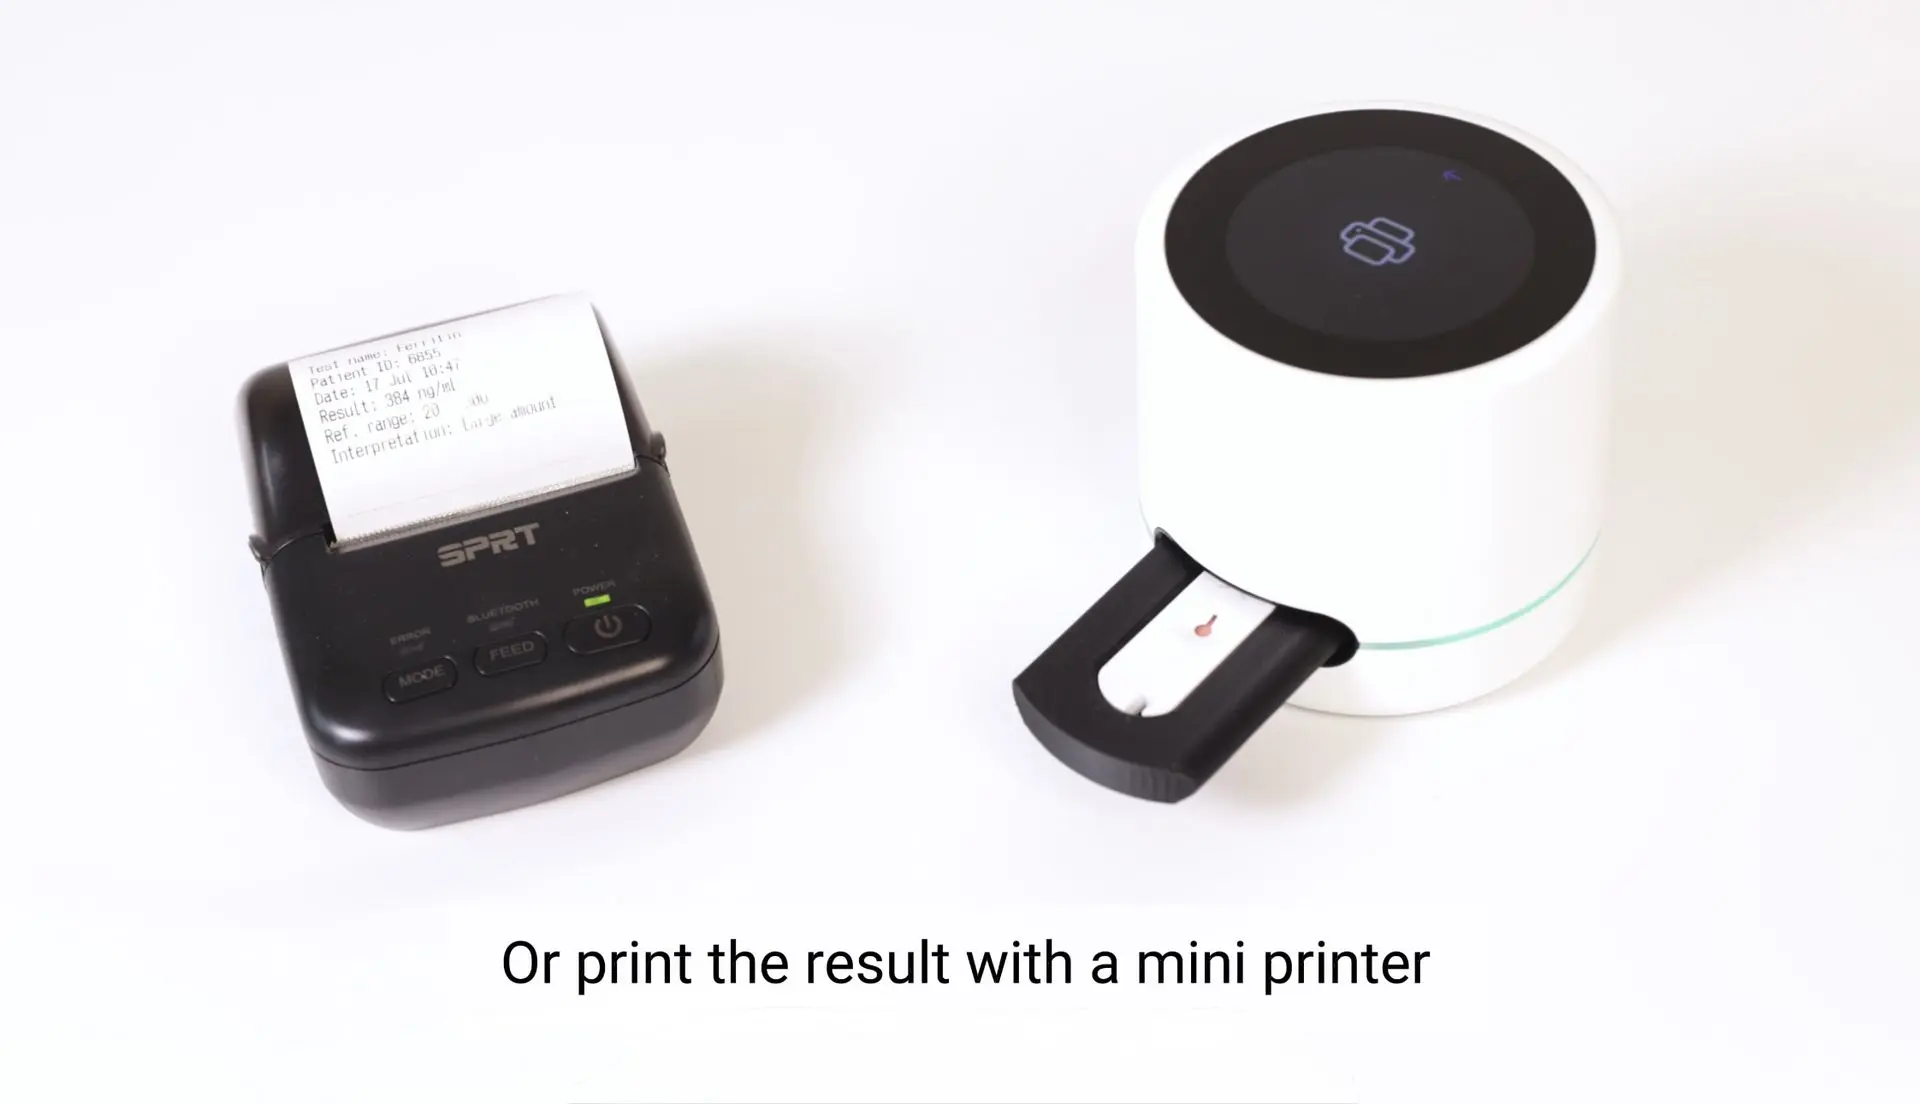
Or print the result with a mini printer
Results evaluation
Rapid ferritin tests may differ slightly from laboratory results - this is normal and does not mean the device is faulty. Use these ranges to explain results clearly to customers and guide next steps.
Result: Error / No control line
What it means: Test did not run correctly.
How to explain/action: Repeat the test. If the issue persists, check sample and instructions.
Result: 0
What it means: Test did not detect ferritin - ferritin cincentration is either below detection limit or the test is invalid.
How to explain/action: Repeat the test. If the result is still 0, this suggests very low ferritin; explain to the customer possible iron deficiency. Recommend seeing a healthcare professional for diagnosis and supplementation.
Result: < 30 ng/mL
What it means: Low ferritin - possible iron deficiency.
How to explain/action: Inform customer of possible iron deficiency. Recommend seeing a healthcare professional for diagnosis and supplementation.
Result: 30 - 300 ng/mL
What it means: Normal ferritin level.
How to explain/action: Reassure customer that ferritin is within normal range. Encourage routine health monitoring.
Result: > 300 ng/mL
What it means: High ferritin - may indicate inflammation or iron overload.
How to explain/action: Advise customer to consult a healthcare professional to investigate causes.
Key points to keep in mind:
Point-of-care results can differ slightly from lab tests. Small variations (e.g., ferritin 50 vs 70) are common and do not mean the device is faulty.
If you see 0 or error (no control line), the test might not work - always repeat.
For borderline or unusual values, advise customers to seek follow-up testing and medical advice instead of assuming device problems.
Ferritin levels can rise more slowly and stay elevated longer during inflammation compared to CRP. While CRP peaks early and drops quickly as inflammation resolves, ferritin may remain high even after CRP returns to normal. This is normal and should be considered when interpreting ferritin results.

Read more about Ferritin and about results evaluation.
Disposal instructions
- Dispose of used cassettes, pipettes, and lancets as biohazardous waste.
- Do not reuse any test components.
- Reader and adapter are reusable; clean according to the official maintenance guide.
Literature
NIH Office of Dietary Supplements - Iron: Health Professional Fact Sheet.
NIH Office of Dietary Supplements - Iron: Consumer Fact Sheet.
Mayo Clinic – Ferritin test.
Disclaimer
This information is educational and does not qualify for a medical advice. Always use local reference ranges and consult a healthcare professional for diagnosis and treatment.