Measurement with Desktop App
1
Set Up the Desktop Environment
- Install Dx365 Care Desktop software on a supported system (Windows/macOS) by downloading it from the official Dx365 support portal: https://www.igloo.today/downloads
- Ensure the computer is connected to the internet for initial calibration downloads.
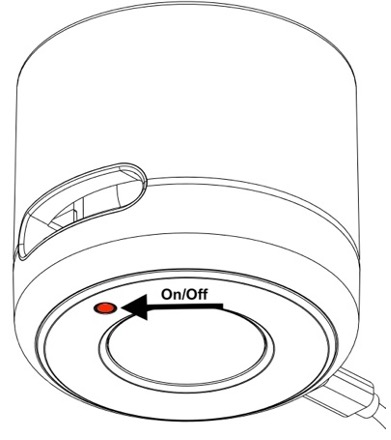
- Power on the Igloo Reader Pro.
- Connect the reader to your computer via USB-C cable.
2
Device preparation
- Open Dx365 Care Desktop and wait for the Igloo Reader to be detected.
- Switch on the device and press new measurement.
- Fill in Patient ID, age and gender.
3
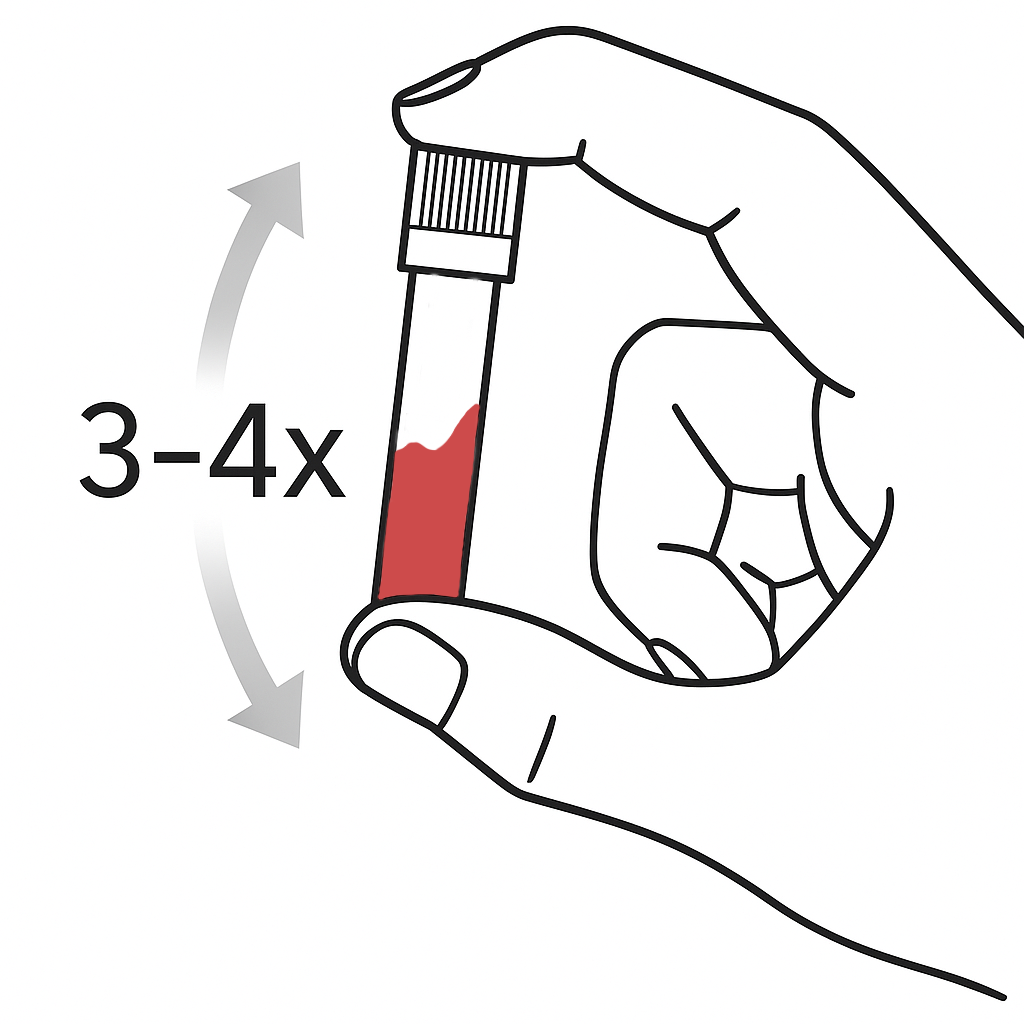
Sample preparation
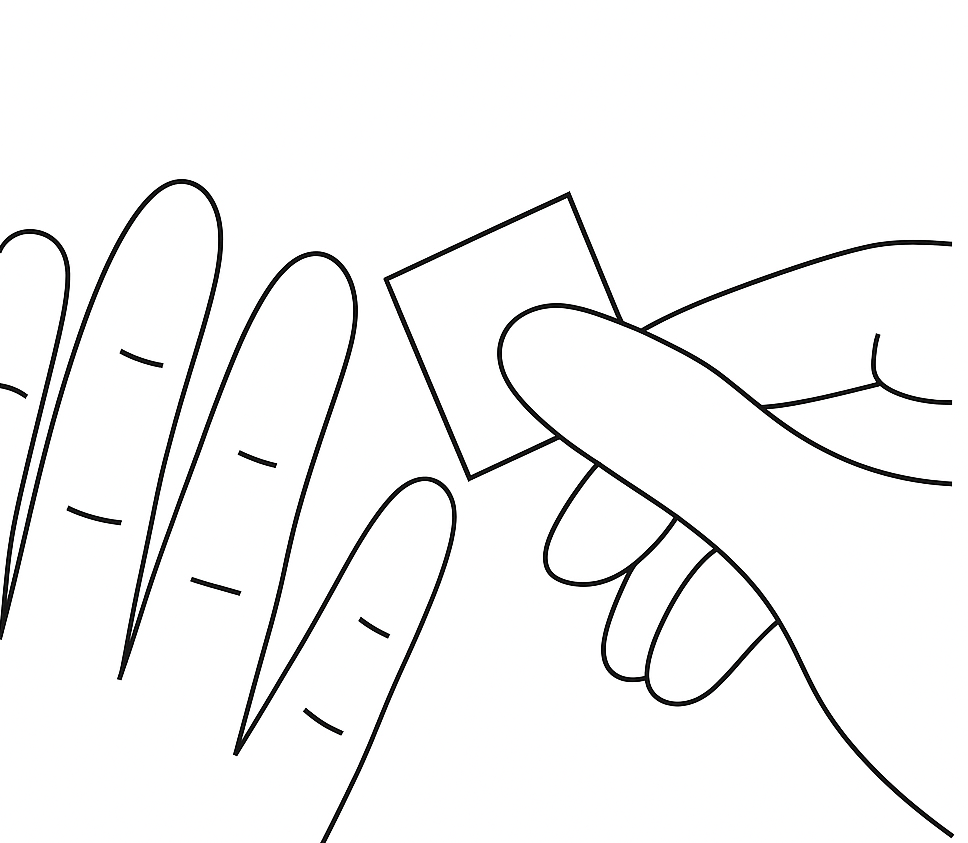
- Disinfect finger with a tissue
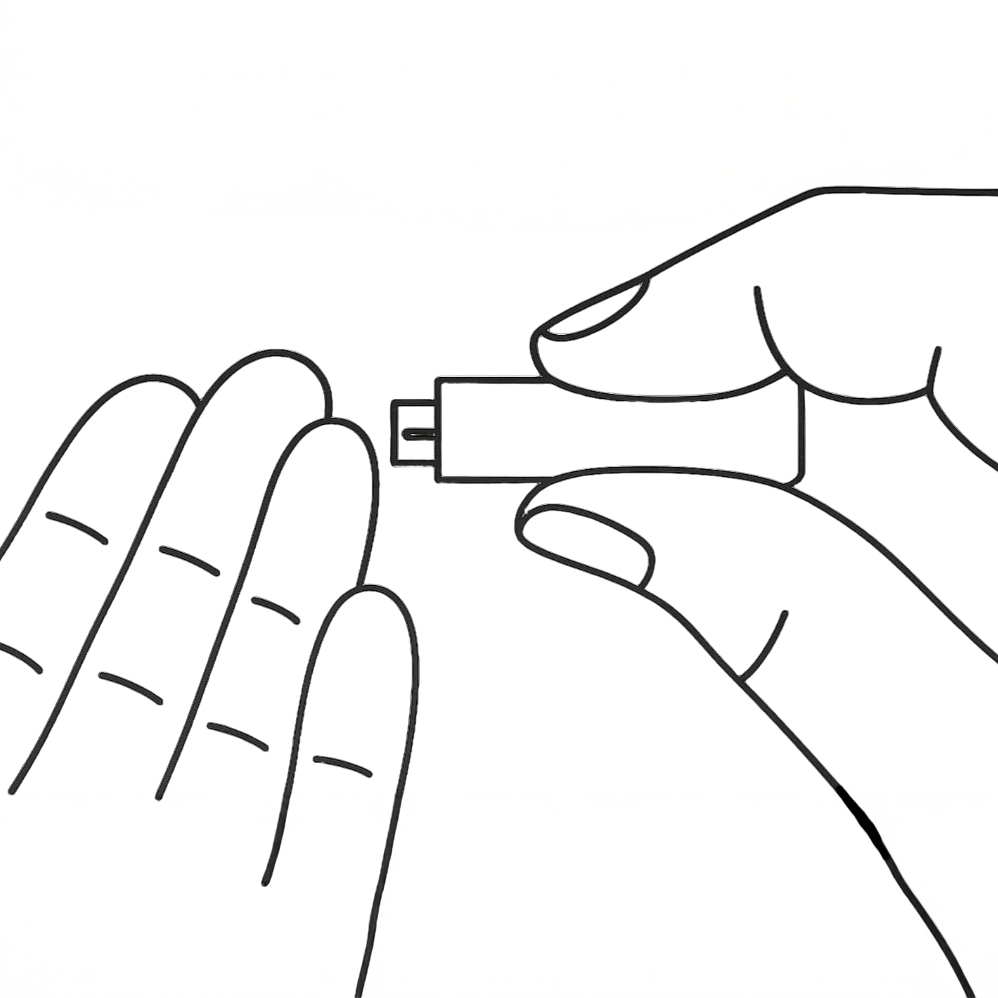
- Puncture finger with a lancet
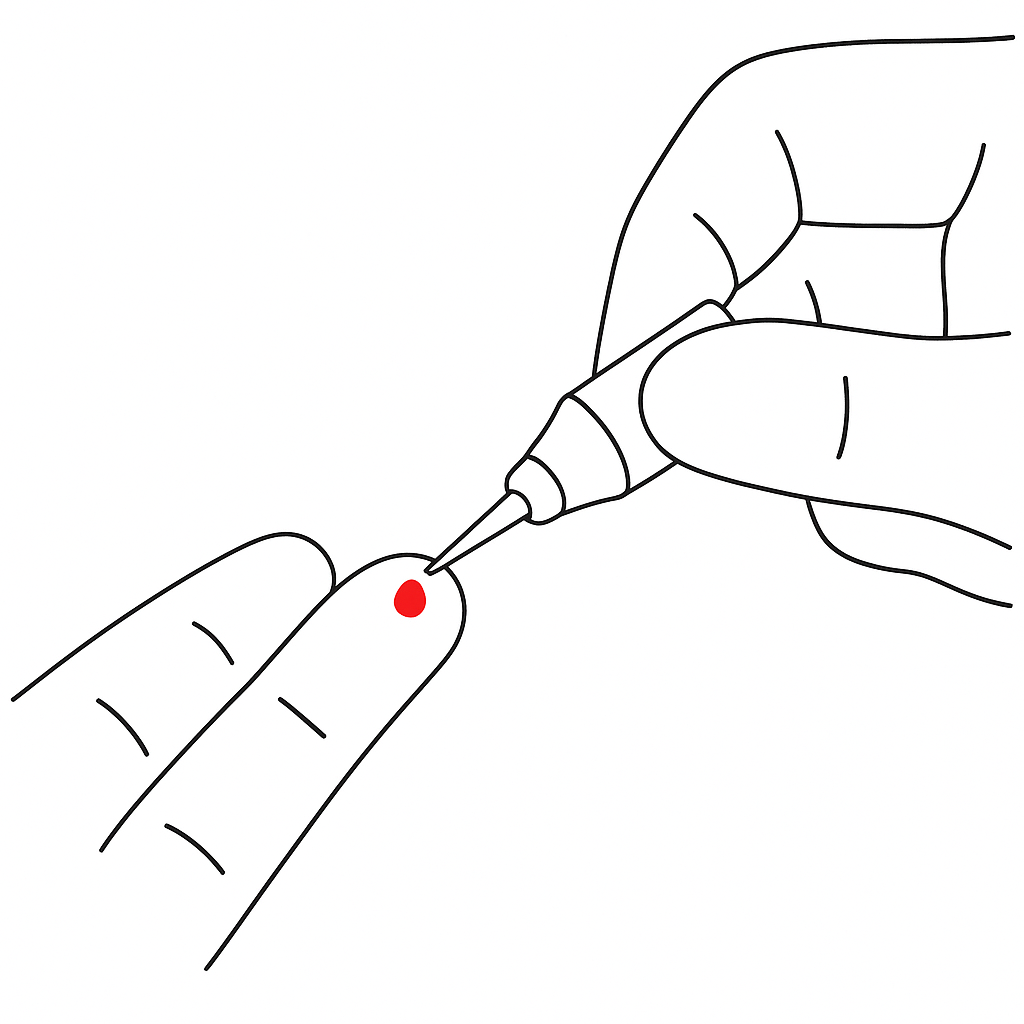
- Draw blood with a capillary
- Mix blood with buffer

4
Start measurement
- Add blood with buffer to test cassette
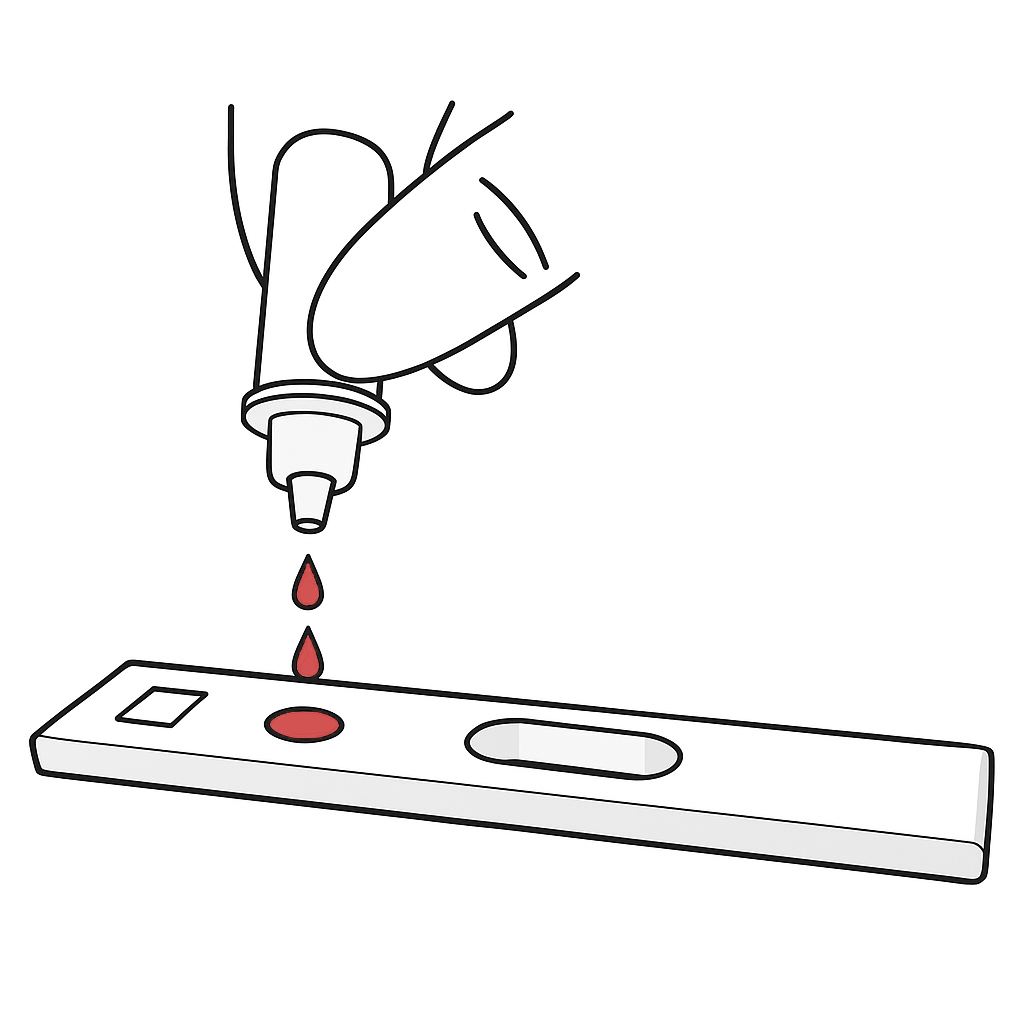
- Insert the cassette with the adapter into the Igloo Reader

- The measurement will start automatically and the device will display the incubation timer on the screen. Within 3-15 minutes (depending on the type of test) you will get the result.
5
View and Export Results
- Once the test is complete, the results will appear directly in the Dx365 Desktop interface.
- Available actions:
- Export results as PDF or Excel (.xls)
- Print the report
- Send to cloud for syncing with Dx365 Cloud
- Export results as PDF or Excel (.xls)